Disc brakes are ace. They’re powerful, self adjusting, and they don’t fill with muddy water when you look at a muddy puddle the wrong way.
They’re not flawless though. There are two issues that I’ve had crop up several times with Land Rover brake calipers. One is excessive caliper wear allowing the pads to fall down and ride on the disc.
The other is seized pistons due to piston corrosion. This is normally caused by lack of use and, presumably, infrequent brake fluid changes leading to moisture buildup in the fluid. Fluid should be changed every 2 years, experience suggests that most previous owners don’t bother…
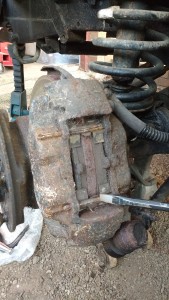
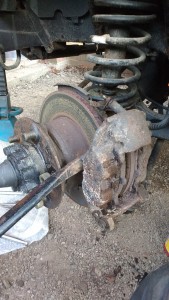
Anyway, this 110 has been sat for almost 4 years since being released from the MOD. While giving it the pre-MOT once over, I noted that the front brakes were seized solid – none of the pistons would move when the brakes were applied. In those four years it’s done something like 160 km, so I can hardly blame the pistons for rusting up. I can blame Land Rover for using carbon steel in this application, but I suspect there are many, many things they care about more than some random bloke on the internet moaning about material choices they made 30 odd years ago.
The only real solution to this problem is refurbishment or replacement of the offending calipers. In this case, I don’t have access to a blast cabinet right now so I’m going with new calipers (and stainless pistons) rather than refurbishing the originals.
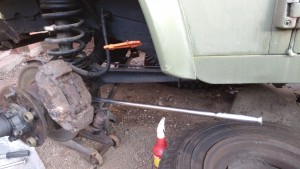
To kick things off, the front axle was jacked up and dropped onto axle stands. A spare set of stands went under the chassis, just in case. I clamped the flexi lines off and removed the short hard lines that go from the top swivel to the caliper. Somewhat predictably, the hard lines were seized to the brake nuts, so the hard lines will need replaced.
 The pad retention pins came out with some gentle persuasion. The calipers can be removed complete with pads, but these pads have plenty life left in them so will be reused in the new calipers.
 The caliper mounting bolts* were then removed. They take a 13 mm 12-point socket, and with the steering on hard lock there’s room to get breaker bar in – they should be, as they say in the French, ‘le really really tight’.
* Yes, technically they’re screws, but I’ll let it slide this time.
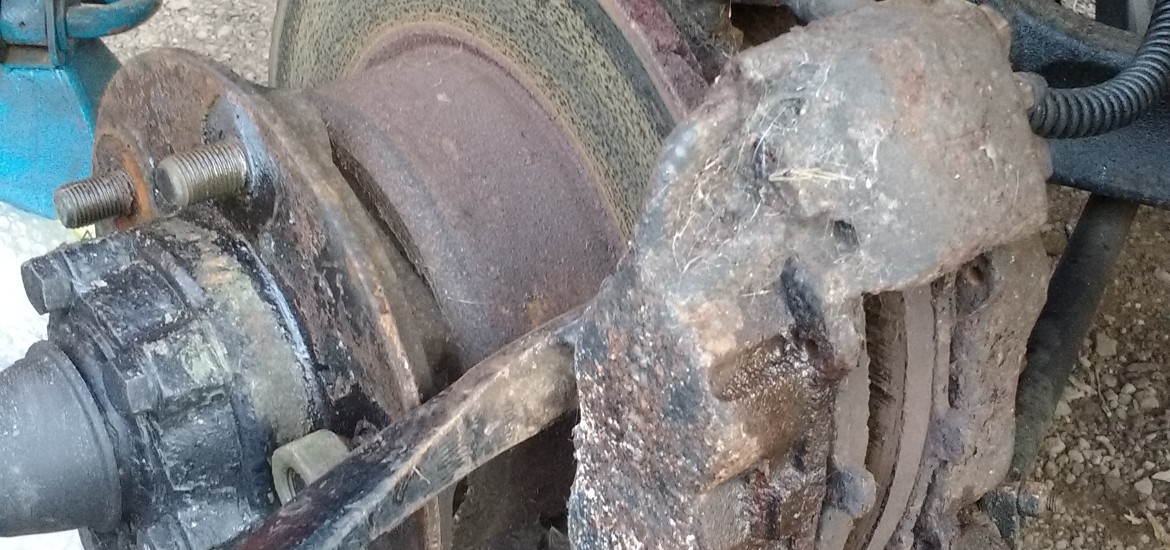
 With a bit more gentle persuasion, the caliper then came off.
The discs looked in good condition – some surface corrosion, but no pitting or major wear. They’ll serve another while. The flexi lines looked perfectly serviceable, but I’ve got no idea how long they’ve been on there – best to replace them too.
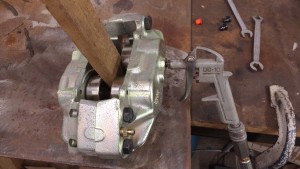 Working with the new calipers, I popped the carbon steel pistons out. The calipers use metric threads, M10*1 mm – I keep a suitable adaptor handy for the airline so that the pistons can be pushed most of the way out using compressed air. With the bleed nipple open, the pistons can be gently fed out by increasing the airflow. Once the pistons are almost free, they can be easily removed by hand.
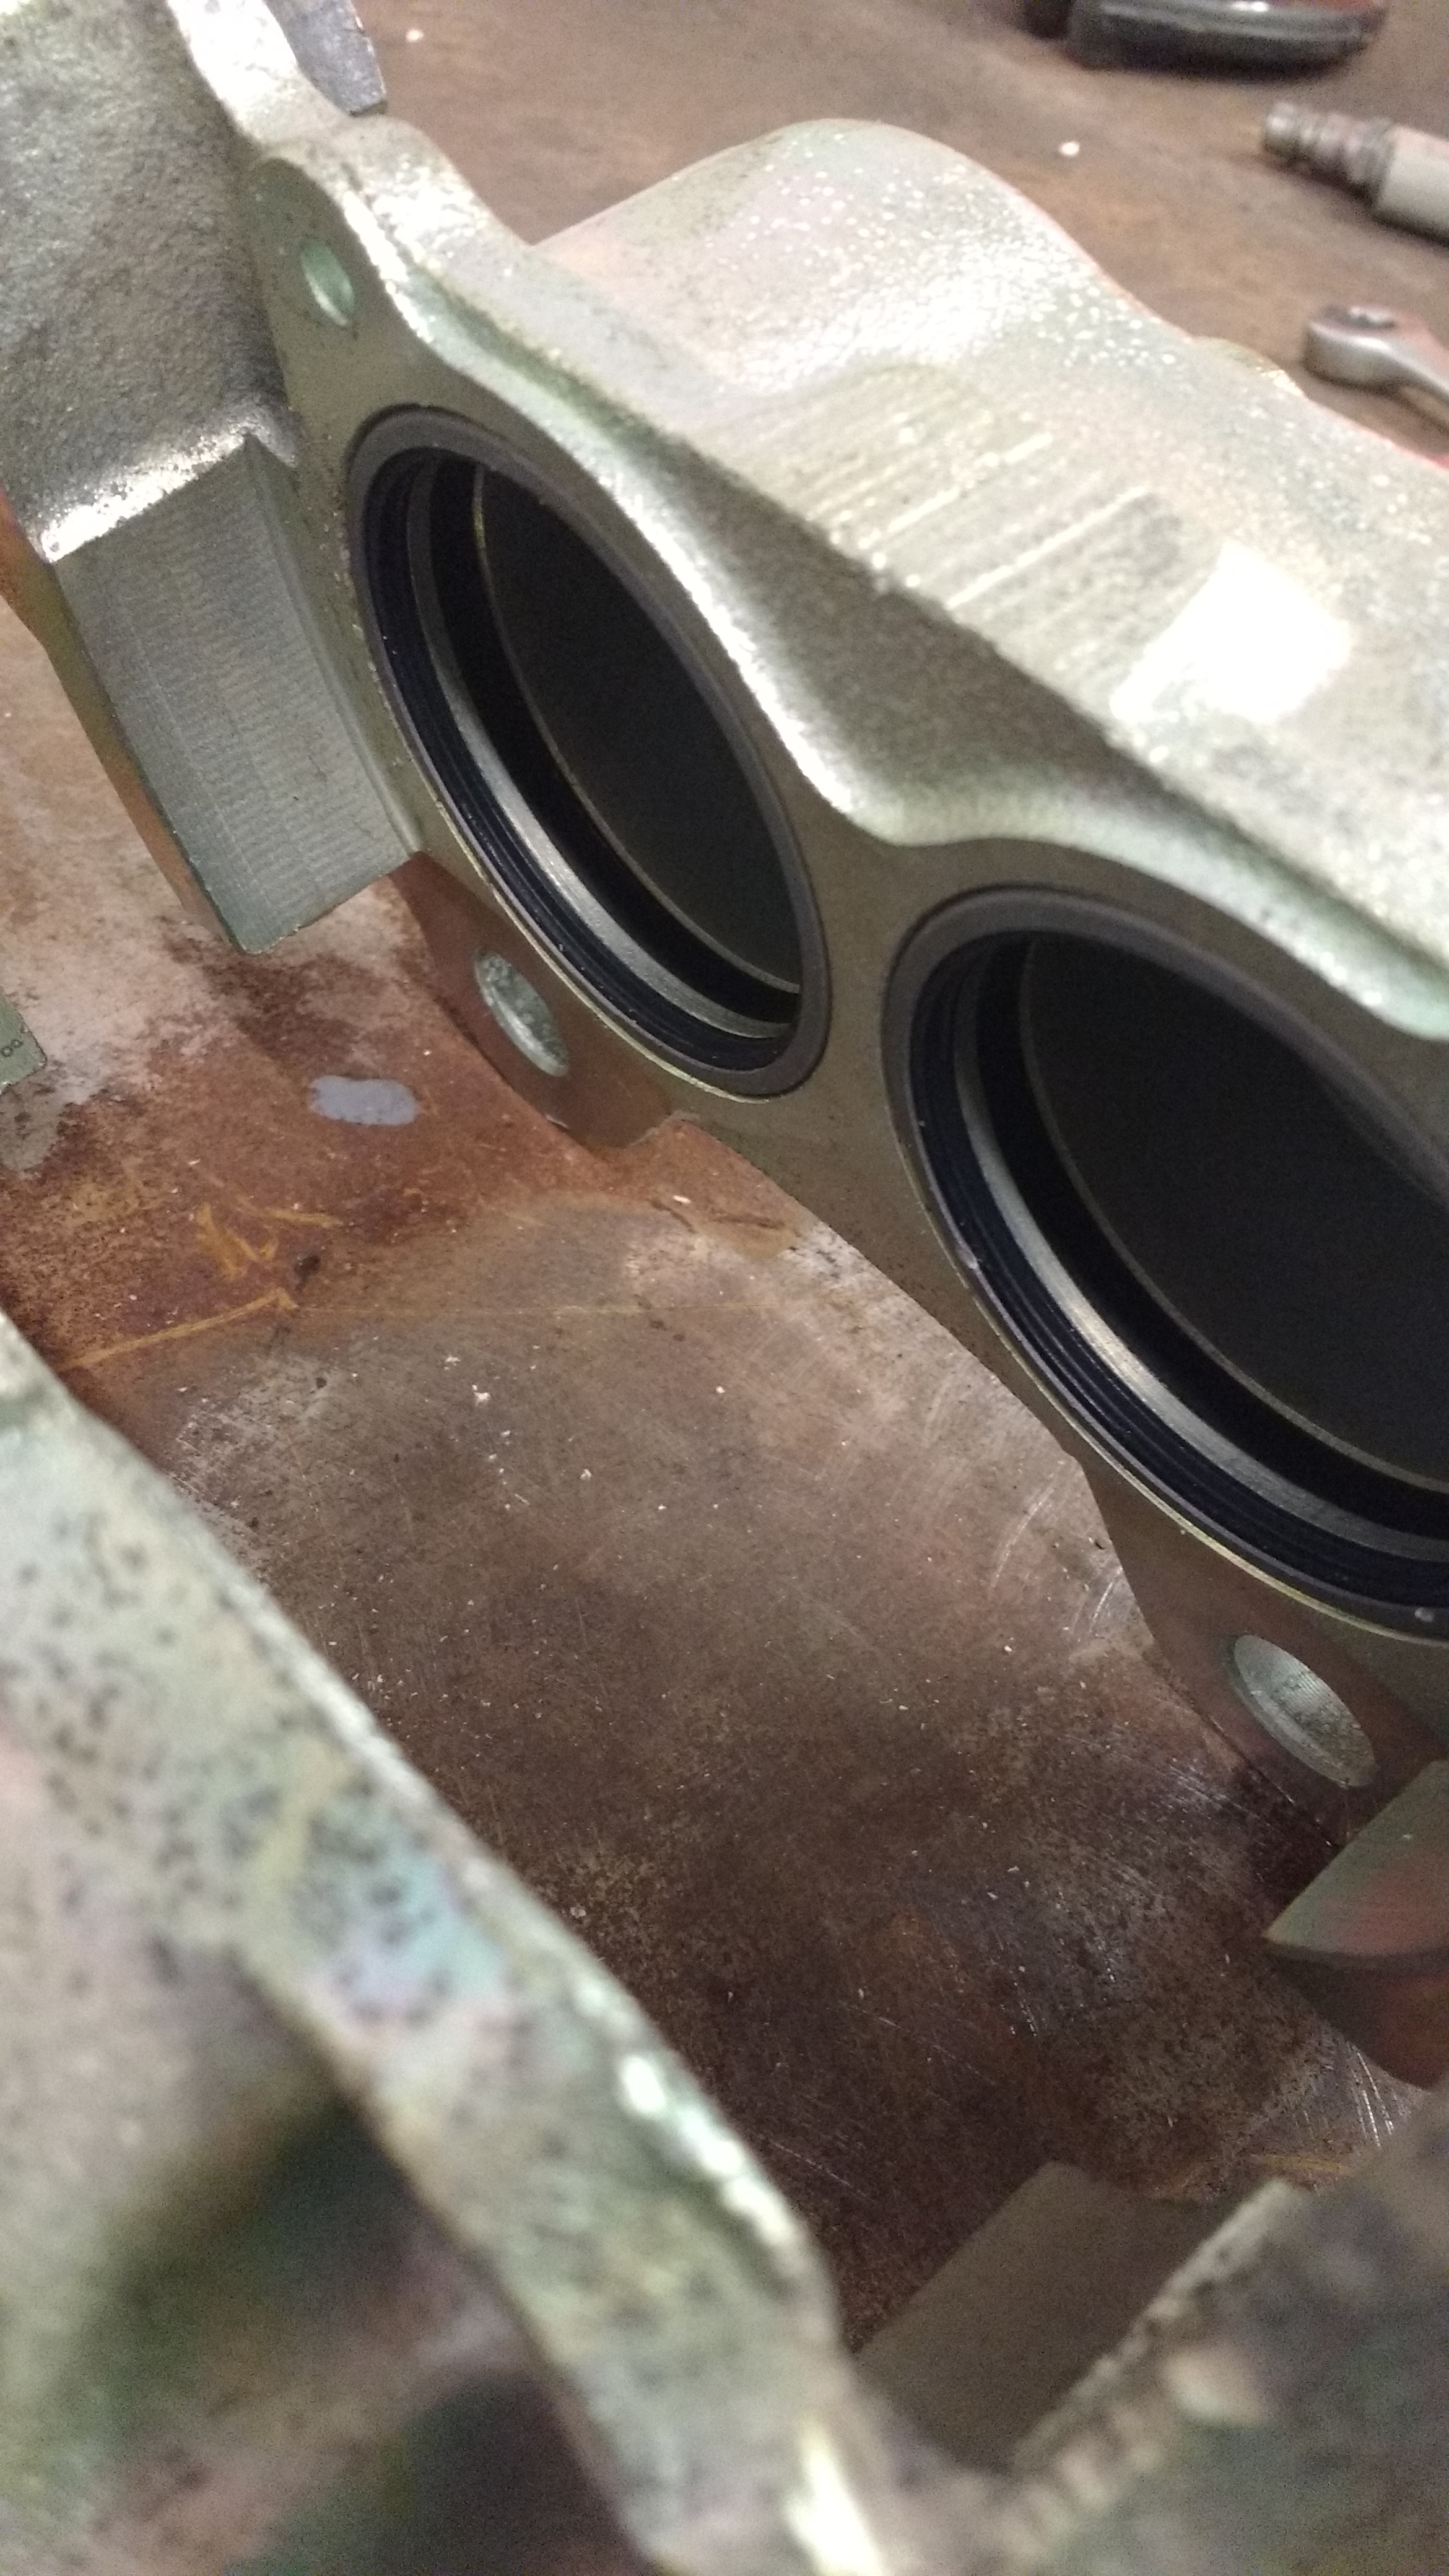
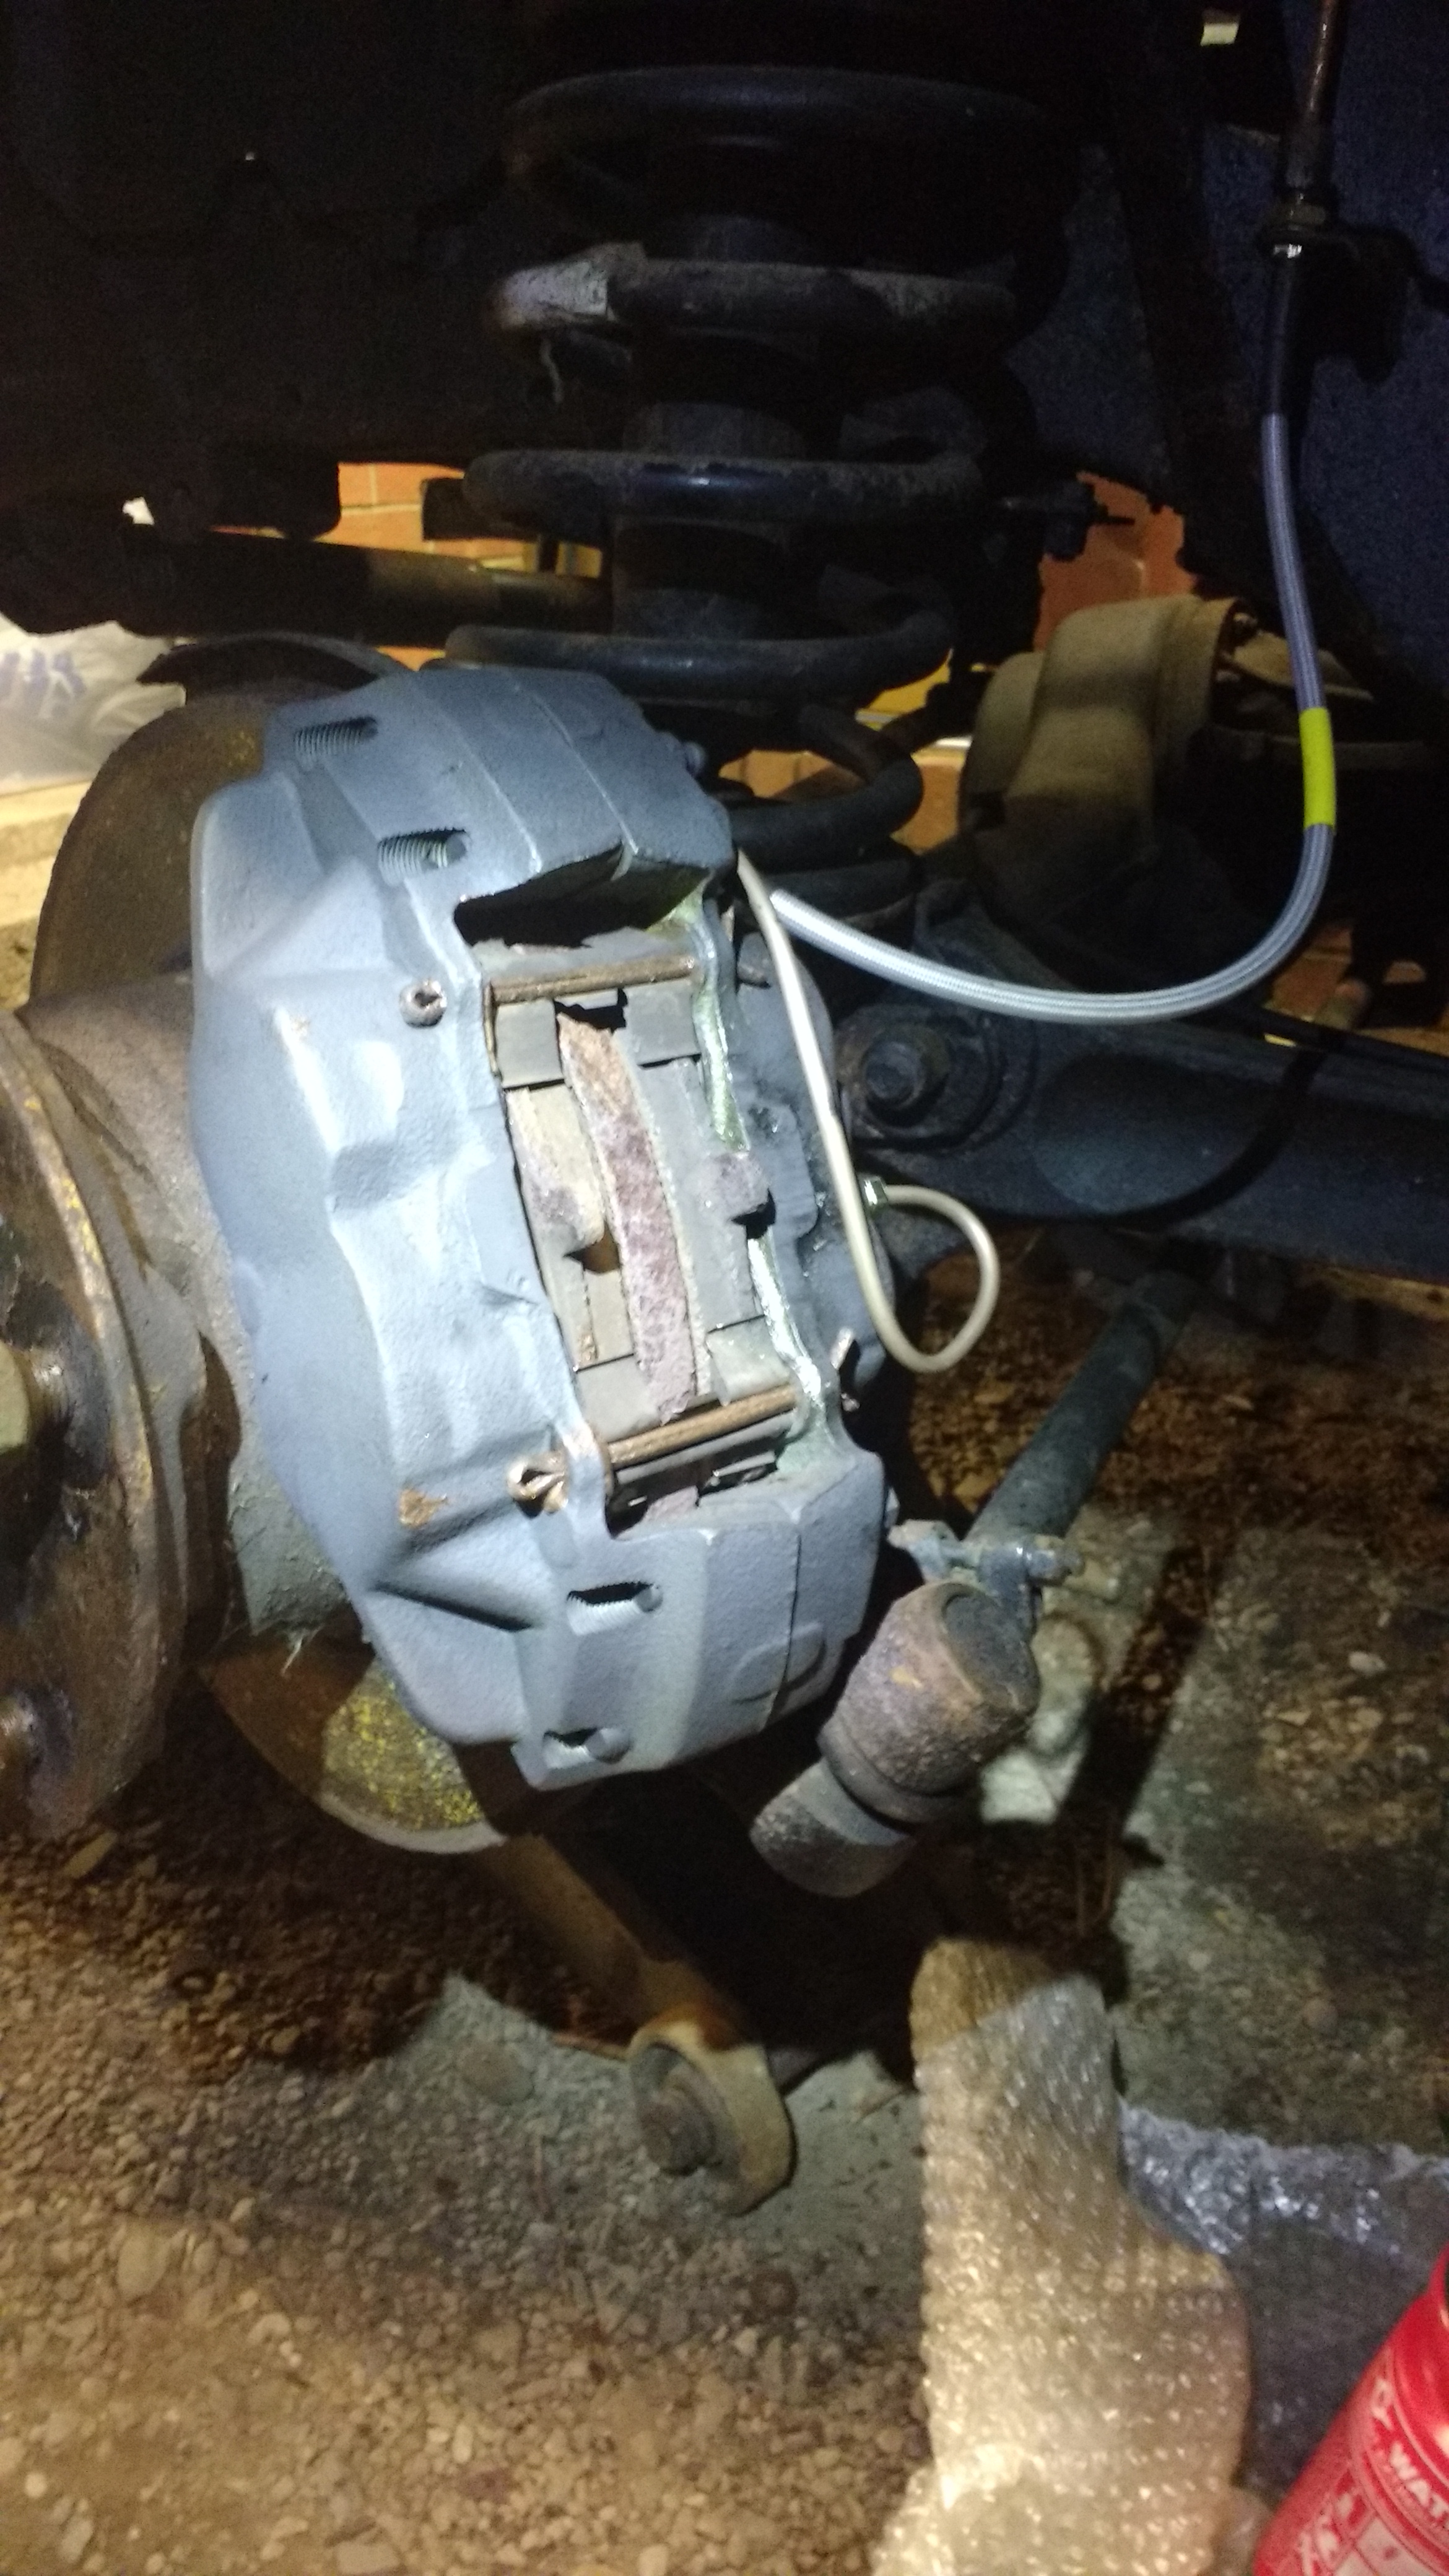
 The piston seals were drier than a Saharan ricecake, so got a dose of silicon grease before popping the stainless pistons in.
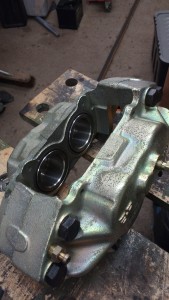
The calipers got a quick blast of exhaust paint before refitting with new bolts and washers. The 12 point heads can get a bit chewed if they corrode too much, so fitting new ones make sense.
One thing I didn’t have handy was new split pins to hold the pads in – I forgot that the later pad pins I had lying around are larger diameter and don’t fit. I had to reuse the old split pins, so they will need replaced post-MOT.
With the lines hooked up and the system bled, the brakes feel spot on. The front brakes were about the only issue I could see needing immediate attention, so it’s all systems go for the MOT in a day or two!