The bulkhead on the 110 has been in need of repair since before I owned it. One of the previous owners ‘fixed’ the top corner rust by riveting a repair section over the top, so I’ve got no doubt the top corners are in a bad way.
The plan was to wait until the 109 is back in one piece, then remove the 110’s bulkhead and do a full refurb on it. Unfortunately, the MOT man poked a hole through the footwells the other day, so some more urgent (and less extensive) action was required to keep the 110 rolling.
The footwells are right in the way of all the crud kicked up from the front wheels, and they’ve been trapping water thanks to a genius two-layer construction.
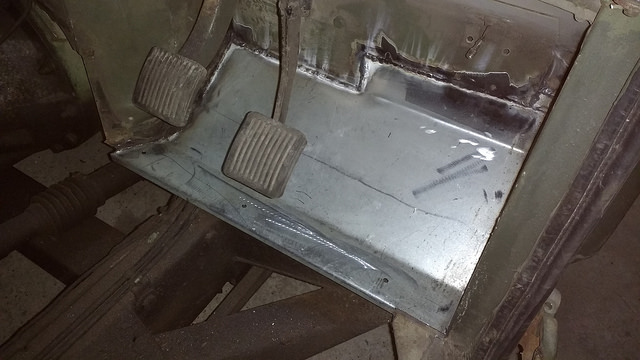
Passenger side was first up.
Out with the floor panel to see the extent of the crustiness:

Some investigative chiseling showed that the rot was fairly localised to where water had crept in between the two layers of steel. The vertical sides of the footwell seemed fine, so only the horizontal part at the bottom and the angled kick panel had to come out.

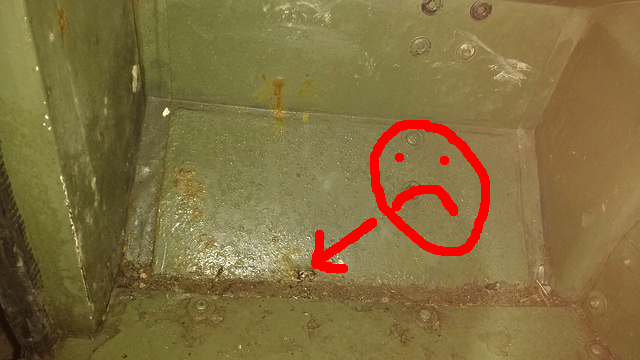
Tidy:

This one isn’t actually too bad, if the rust was worse I’d have been chasing good steel right up the sides of the footwell.
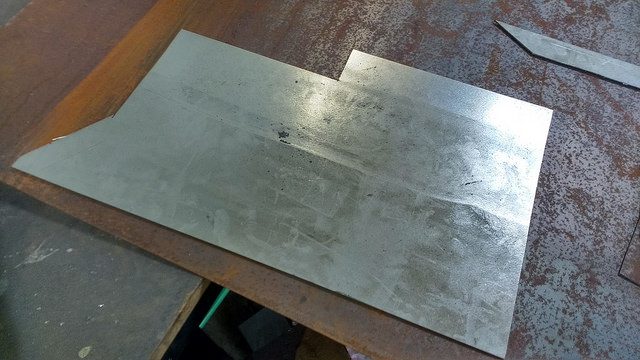
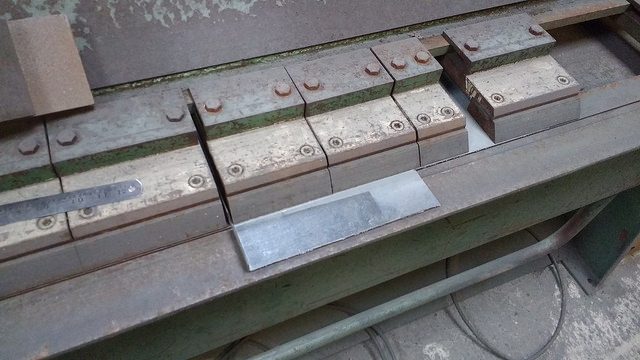
The repair panel required was fairly simple, just a couple of folds. I used a single layer of 1.8 mm galvanised sheet to make the panel. It’s a harsh environment, so carbon steel would be rotting again in no time. You lose the galvanising adjacent to the weld, obviously, but it’s better than nothing!

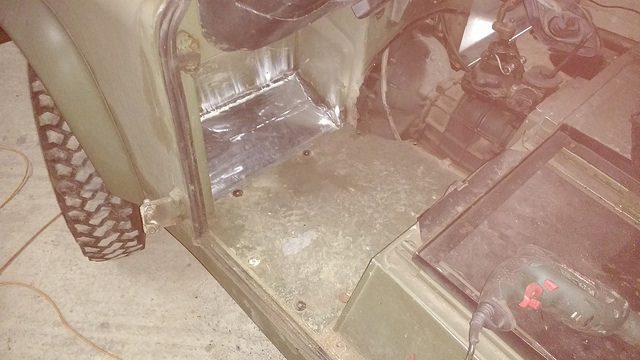
I dug out the MIG to weld the panel in – not my favourite process these days, but access was awkward for TIG. All welds are butt welds – no point having any more overlapping sections, it’ll only trap water and cause more corrosion. The original construction was overlapping sections, spot welded and seam sealed. That’s fine on shiny new steel with good access, but isn’t really a viable fix for in-situ repairs on manky old steel.
The streaks of white stuff are zinc oxide deposits generated when welding galvanised steel. Not very nice stuff, it pays to not breathe in those fumes!

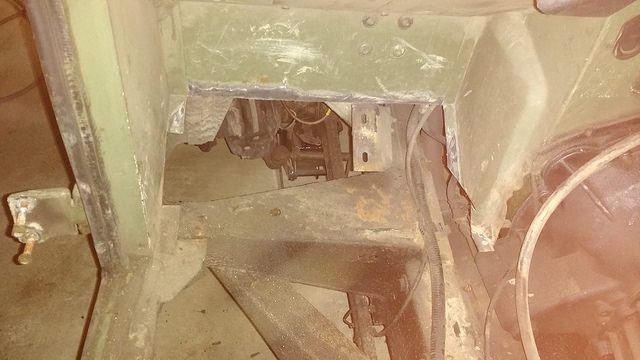
The drivers side was a bit worse – corrosion had crept up the side of the footwell too.


This meant a more complex repair section. There was little chance of me getting it right first time in steel, so I got it wrong (twice) with cardboard first before making the steel part.

This type of panel can, with some faffing about, be folded by hand using g-clamps and bits of angle iron. This only works up to a certain width of fold though, and takes ages to set up. I picked up a used box folder a year or two ago for making sills for the Range Rover – it’s the business for making bits like this quickly and easily.
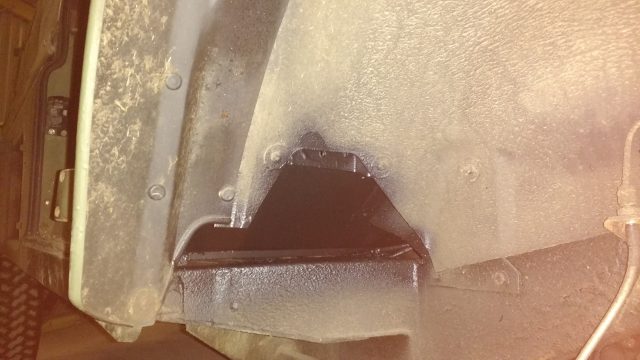
Panel ready to go:
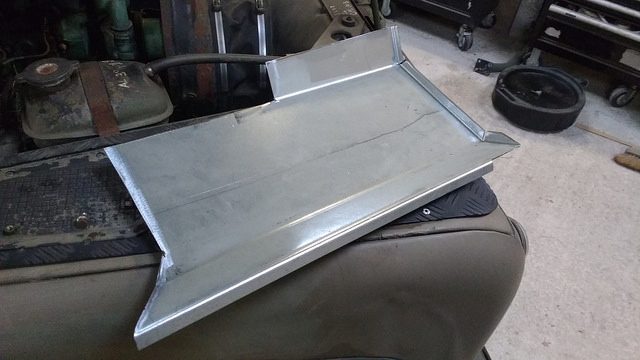
and welded in:

Using the floor panels as a guide to drill the mounting holes:
The galvanised bits got a quick brush of mordant solution:

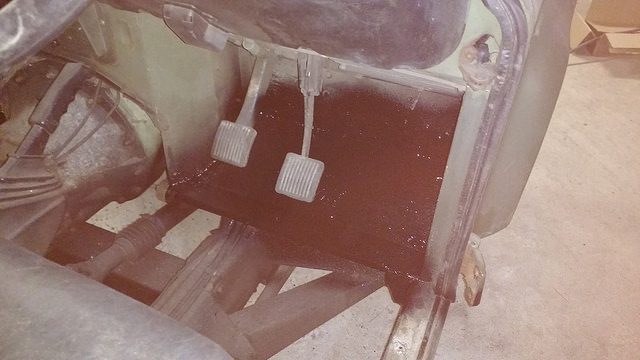
Then the whole shebang got a good blast of stonechip, inside and out.

It’s too cold and damp for spraying just now, so the inside will have to wait till later in the year to get a coat of green to match (well, ish) the rest of the bodywork.
After a day to dry (stonechip goes off pretty quickly, even in these conditions) the panels were all refitted.
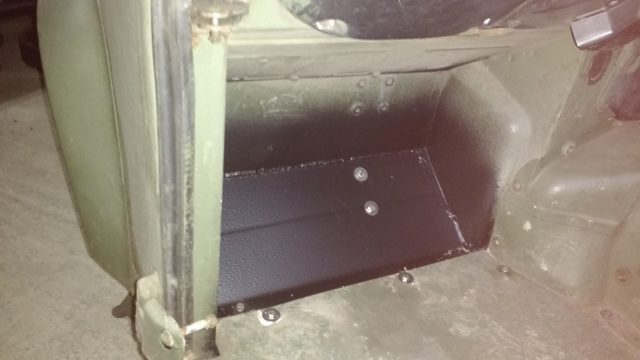
Job jobbed. For now, at least… There’s still a full bulkhead rebuild on the cards judging by the look of these top corners:

Yes, that’s riveted on. Nice.
I’m really impressed with what you have done , great workmanship. I have a 109 station wagon1971 my doors need work like yours . I only wish I had taken metal work at school instead of woodwork. May I ask did you have training for welding or are you self taught? Regards Graham Fallows.
Thanks 🙂 I learned how to weld at college – but to be honest that was quite a basic intro. I’m mostly self-taught since then. If you check with your local college they might do evening classes which is a great way to learn. Good luck!