Land-Rover doors were, in the original series one configuration, pretty good. They had an aluminium skin mounted on a galvanised steel frame. The aluminium generally didn’t corrode, and the galvanising stopped the frame from rotting. Brilliant.
These are 61 years old and still good to go. Ok, they’ve not been on the road for the last 5 or so years but still…
Flushed with success from getting it pretty much spot on with the series one, someone decided to make the doors a bit less awesome for the series 2. The frames from S2 onward were no longer galvanised (well, at least until about 50 years later when the doors went all-steel). The outer skin was still aluminium, but folded over a painted steel frame.
The galvanic potential between the two materials causes corrosion of the aluminium. This seems to be a bigger problem on later vehicles – 109’s don’t appear to suffer like 110’s.
Door skin corrosion isn’t a problem if you have no taste, mind. You simply slap some chequer plate over the top (garnished, perhaps, with a ‘one life, live it’ sticker) and give yourself a pat on the back.
The steel frame is a water trap, so rotten frames, in particular the bottom rails, are common. There’s not really a poor-taste option for fixing the frame itself, though I have seen some some superb Previous Owner bodges in door frames including fibreglass, body filler and, I shit you not, paper mache.
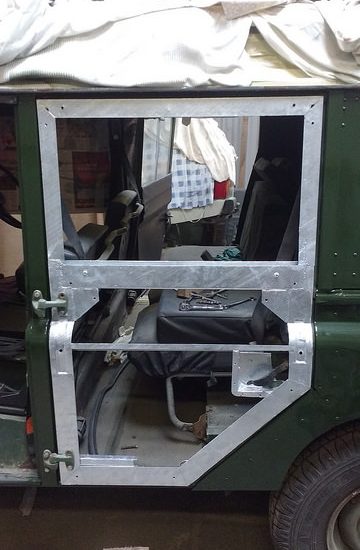
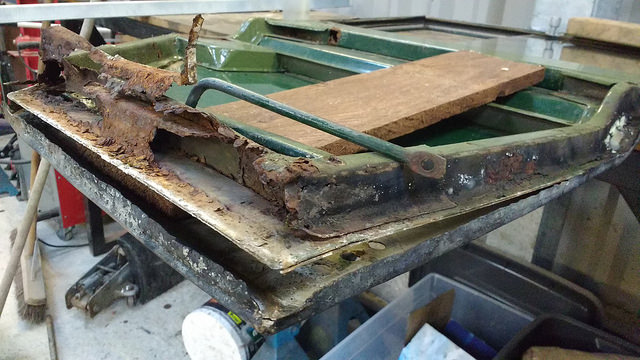
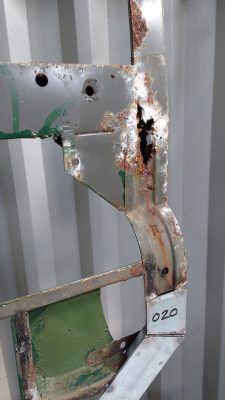
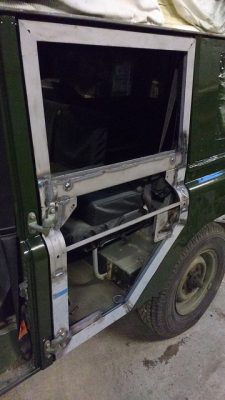
The second row door frames on this 109 station wagon are pretty rotten. This will be a familiar sight to many station wagon owners, 109 and 110 alike:

While the doors work fine like this, they offended me every time I saw them. They also left little piles of rust on the floor if you shut the door too vigorously.
With front doors, the easiest option is simply to replace the door bottoms – they are readily available and reasonably cheap, considering how much effort is involved in fixing them. Second row doors are a bit trickier – there are only a couple of suppliers of new ones, and the quality of the ones I’ve seen has been somewhat dubious.
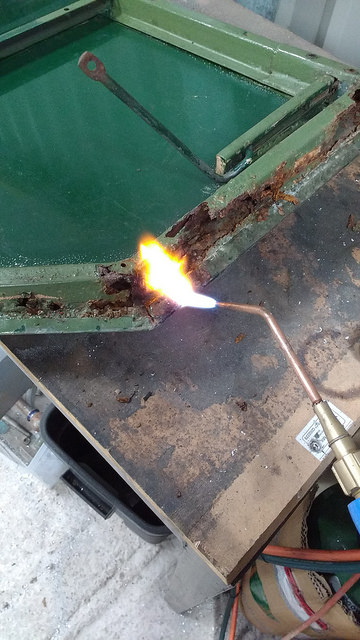
Time for some rust-busting action on the original doors then.

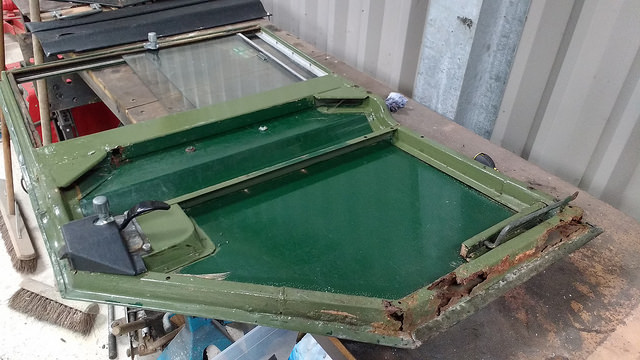
With the door removed and most of the trim stripped off, the extent of the rot was a bit clearer. Most of the bottom half of the frame was toast, and the horizontal rail the window sits on wasn’t much better.
Before anything could be done about the rusty frame, the aluminium skin had to come off.
The edge of the door skin is folded over the frame to retain it:

Simply prying back the skin could crack the aluminium, so it should be annealed before folding back. Annealing the aluminium basically resets the grain structure, undoing the strain hardening that was done when it was assembled.
I found the easiest way to get the edges folded back was to slide a long screwdriver between the aluminium flap and the frame, then simultaneously lever the flap and apply heat. I could then feel the aluminium soften, so I knew I wasn’t going to overstress it. This approach required both hands, hence no pictures!
After working around heating and folding back the edges, the door skin can be removed. I only removed the lower half to start with, leaving it hanging loosely in place so that I could use it as a guide when rebuilding the lower half of the frame.
Note the dodgy patches around the lower rail, stuck of top of the original rusted-out frame.
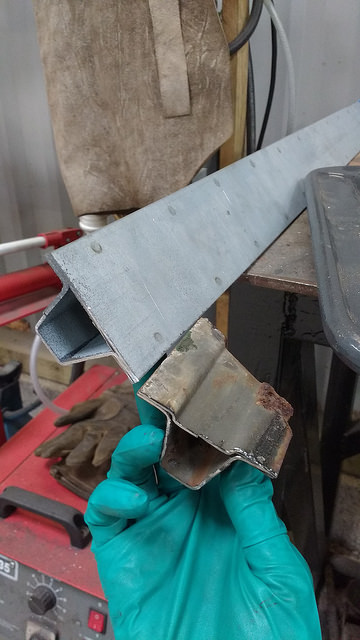
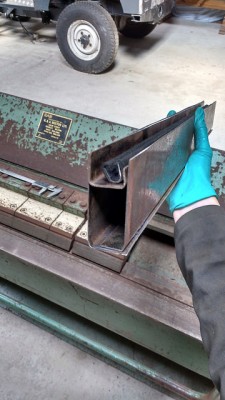
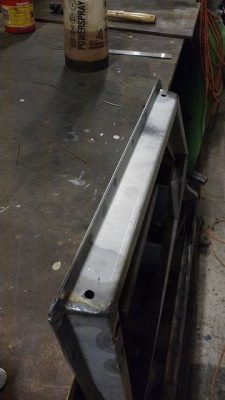
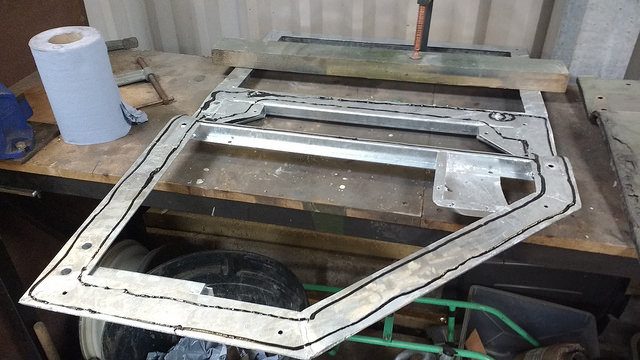
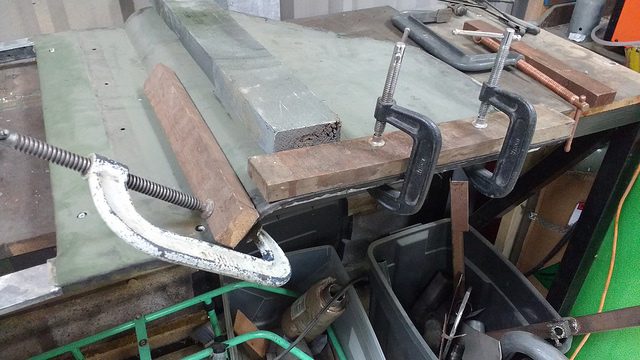
The _n_ shaped sections of frame were too complex to make in one piece, so I bought a length in from YRM. It’s not actually quite right (like everything I’ve ever had from YRM, thinking about it) – check out the lack of a recess on the ‘flat’ side compared to the original:
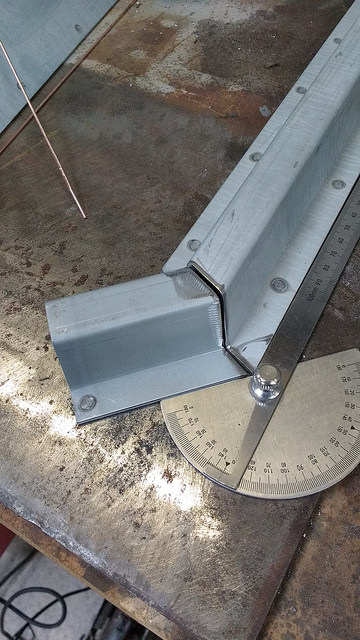
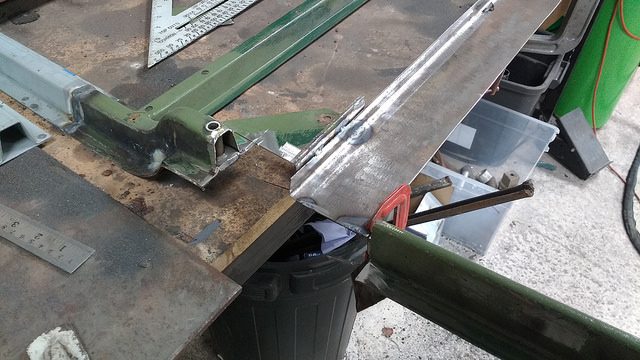
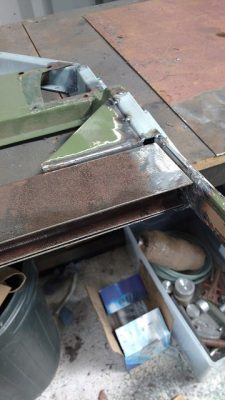
With the lower part of the skin out of the way, the rotten sections of frame were removed and new sections tacked in bit by bit. In the classic Land Rover style, all the angles were 45° or 90°, which made life pretty easy – 22.5° or 45° half angles and you’ve got a tasty joint:


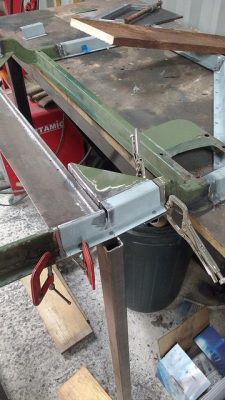
Once the lower frame was tacked in place, holes were drilled for the lower door hinges and crush tubes fitted. These stop the door from getting, err, crushed, when the hinge bolts are tightened. The pipe used here has a larger ID than the original to give a bit of adjustment when hanging the door.

Moving further up the door, the windows were removed to check out the frame underneath. Turns out one of the drains had blocked and the channel had rotted through. This meant that all the water running down the windows had headed down inside the door frame rather than out of the drain pipe, which won’t have helped the rot situation.

The whole window channel was rotten, as was the door frame where the channel is attached. The window channel had to be replaced too, then. Love it when a job grows arms and legs…
This was hiding under another classy PO ‘repair’ at the upper hinge mount. Belter.

The frame adjacent to the window ledge thingy was holier than Pope Francis, so it had to come out too.
The window support rail thing (windowsill, maybe?) was replaced with a u-shaped piece for the windows to run in, with 2 L-shaped parts (or maybe one L and one J) to make the rest of the rail. The u-shaped bit has unequal heights, with the outside lower, so that water spills over the outside if the drains get blocked, rather then entering the vehicle. As shown here the outer ‘J’ part wasn’t trimmed to size yet:
Not much holding it together at this point – there wasn’t much good steel left around the window rail area:
Once one ‘L’ of the new rail was tacked in place, the windows made a handy jig to line up the u-channel:
Once the 3 bits of rail were in place, the outer edge could be trimmed to the correct height:
There was no point going to all this effort to have these things rusting out again. Ever.
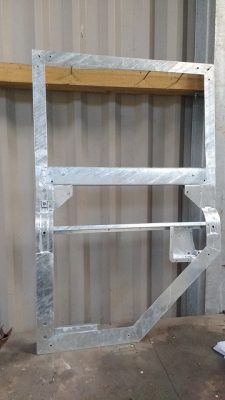
With everything tacked in place, I blasted the frame to prep it for seam welding and, ultimately, galvanising. The blasting also showed up a couple of other areas needing repair – it’s a handy process.
The new window rail was a bit different to the original, but still needed some sort of drainage. Some bent 8 mm pipe did the trick. These got trimmed after being welded in, the extra length was to give something to grip them with before welding.
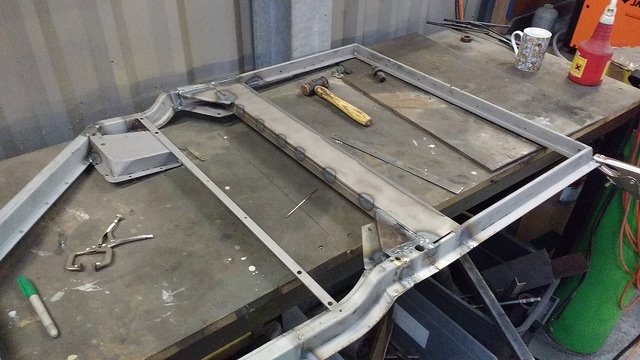
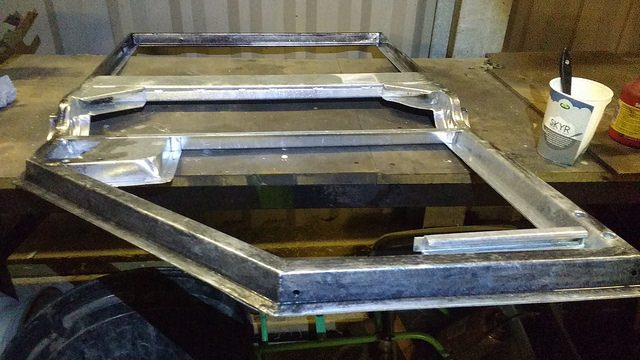
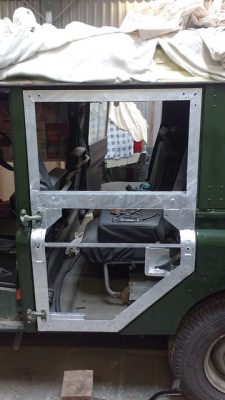
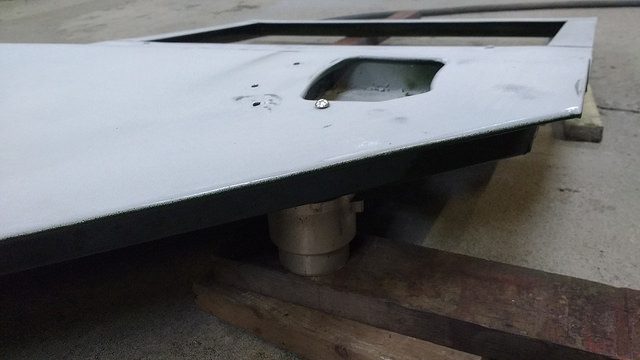
With the seam welding done, and the door check bracket reattached, it went for a cheeky test fit. Tasty.
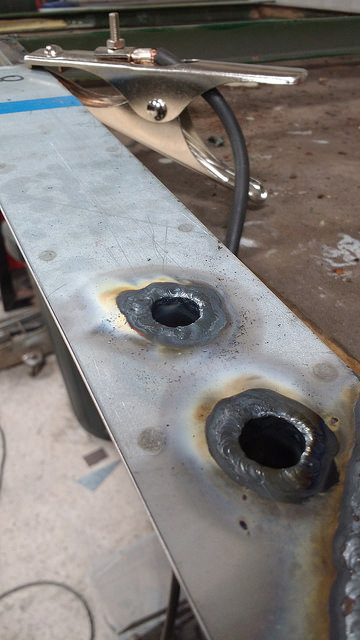
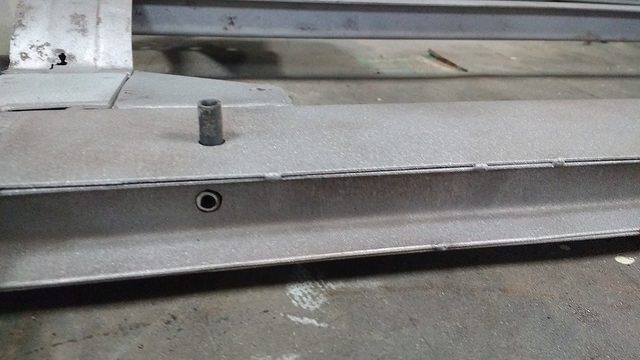
Final pre-galv prep was to drill plenty vent/drain holes to let zinc/air flow in and out during galvanising, and to let water drain out once fitted.
Post galvanising: shiny mcshinyface.
After excess galv was drilled from any mounting holes (and the window drains, which were totally full of zinc) it got some mordant wash on the areas that would be painted:
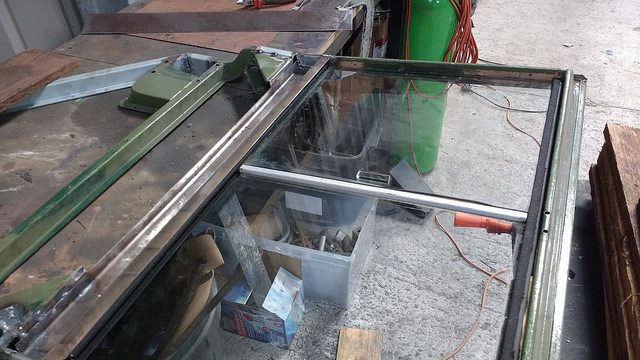
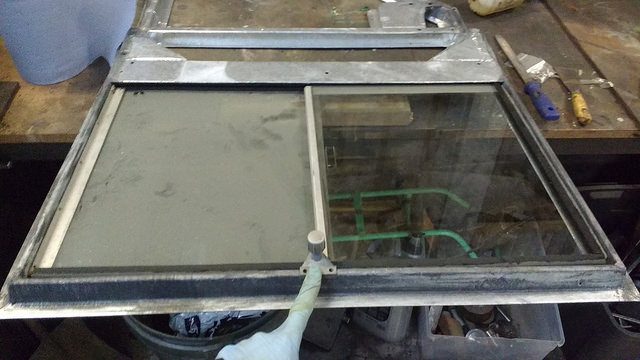
The windows then went back in for a test fit. The felt runners/seals were replaced, as the metal core in the originals was rotten.
All looked good there, so the door got another test fit to make sure it hadn’t warped too much when it got dipped.
The window frame needed a tweak to engage the seals properly, but other than that it looked pretty tidy.
After flapping off any sticky-outy bits of slag from the galvanising, the door skin could go back on. Test fit went well:
A couple of runs of seam sealer went on first to try and cut down on vibration between the skin and frame.
It might seem an odd choice not to paint the frame first. I wasn’t sure if the skin would need to be heated when folding the edges over, and I didn’t wan’t the paint flaking off the frame if it did. As it happens the skin went on ok without heat, so you could paint the frame first if you wanted.
With the skin clamped down at the edge, a rawhide mallet was employed to work the edges of the skin over the frame.

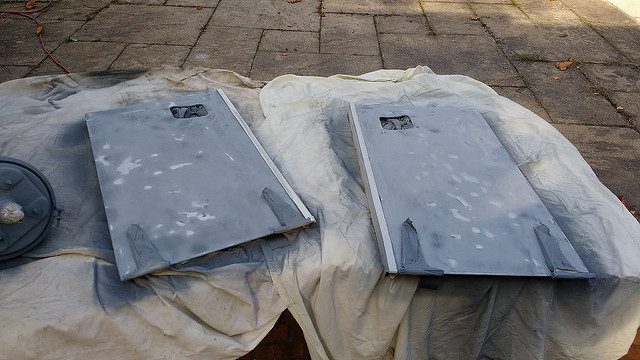
With the skin back on, the paint was rubbed back ready for primer.
And that’s where play has stopped for now. The next stage will be painting, but conditions are a bit cold and damp for that just now.
To be continued, then…
Update 19/2/17: Huzzah for warmer weather! The door got two prime/sand cycles to get a smooth finish.
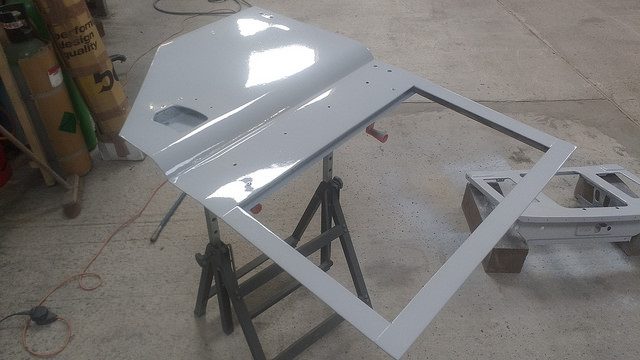
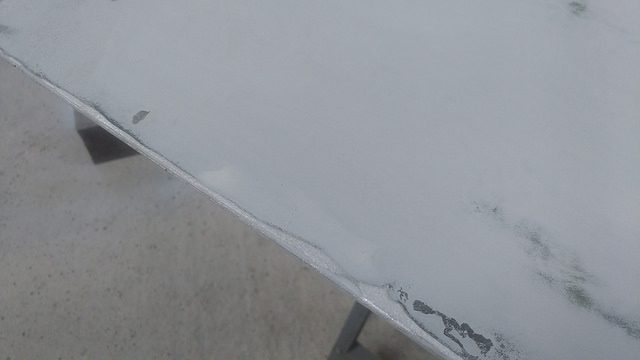
After the first prime/sand some pitting was visible on the lower edge of the skin that was too deep to fill with primer, so it got the teensiest smear of filler.
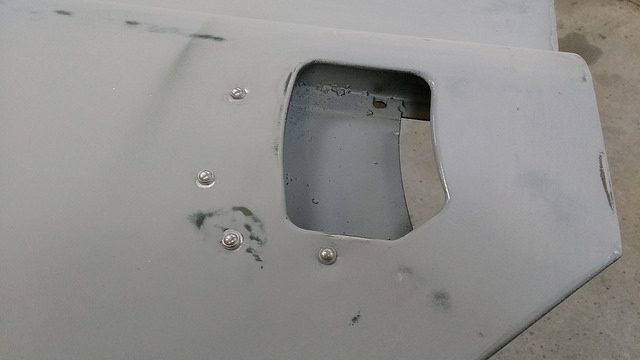
Once the primer was smooth, the rivets holding the skin to the frame around the lock had to be set. The rivets were left until after priming as sanding around them is a total pain.
These are old-school rivets, they need to be set with a hammer. Pop rivets could be used instead, but wouldn’t be quite right. They’re 3/16″ diameter, aluminium flavour.
The setting tool has a concave end that fits over the pre-formed end of the rivet.
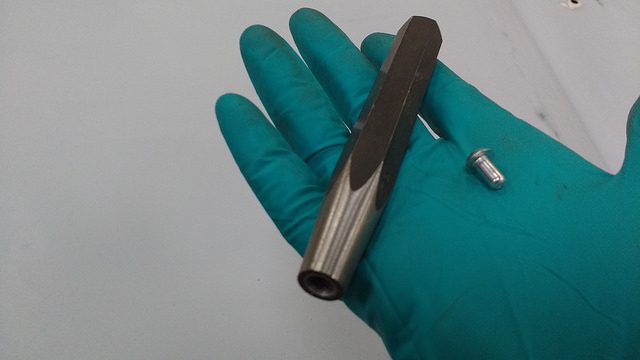
With a lump of steel at the far side of the rivet, a couple of chaps on the setting tool with a hammer squashes the rivet and you get a nice tight joint.
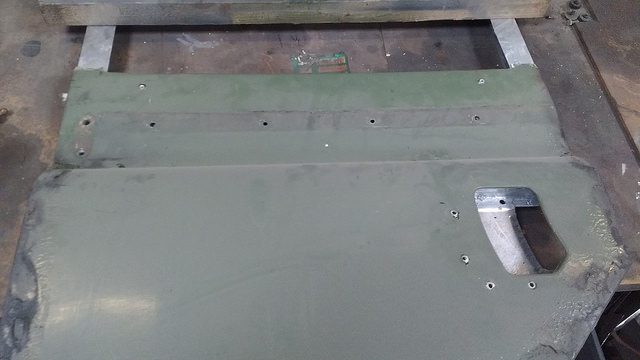
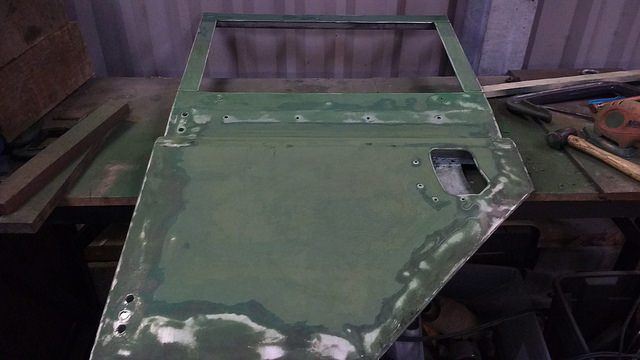
With that done, it got a blast of bronze green paint. The keen of eye will note that the door wasn’t this colour to start with, but the 109 is mid-respray. It had been painted lincoln green at some point, it’s going back to the original bronze green.

The hinges also got a bit of sprucing up – blasted, repainted and reassembled with new pins and bushes.
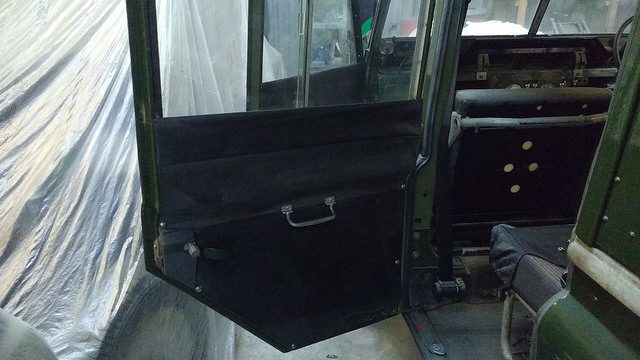
The glass was put back in on fresh runners (they’re steel-backed and were rotten), and the door refitted.
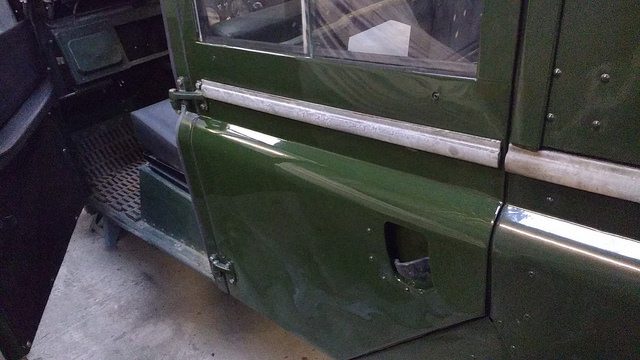
Once in position, the interior trim was put back on. Spicy.
All in, I reckon that was a success. An extremely time-consuming success, but a success nonetheless!