Seeing as I’ve already done a lengthy post on repairing doors here, and it’s probably not the most interesting of topics, I’ll keep this short. Well, I’ll try at least…
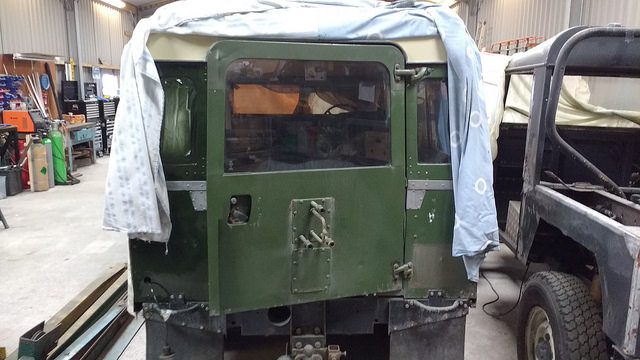
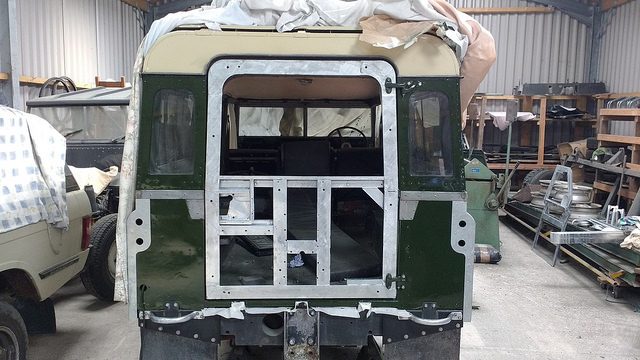
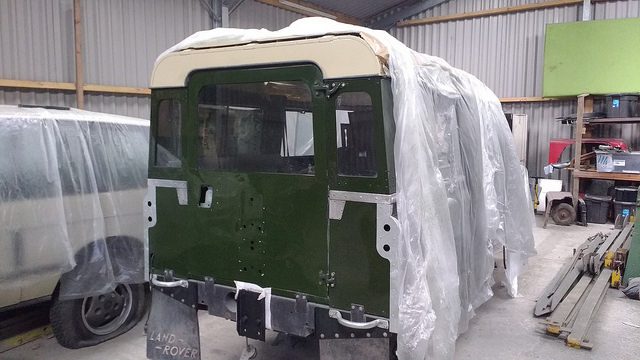
The construction of the rear door is the same as the second row doors – aluminium skin and steel frame.
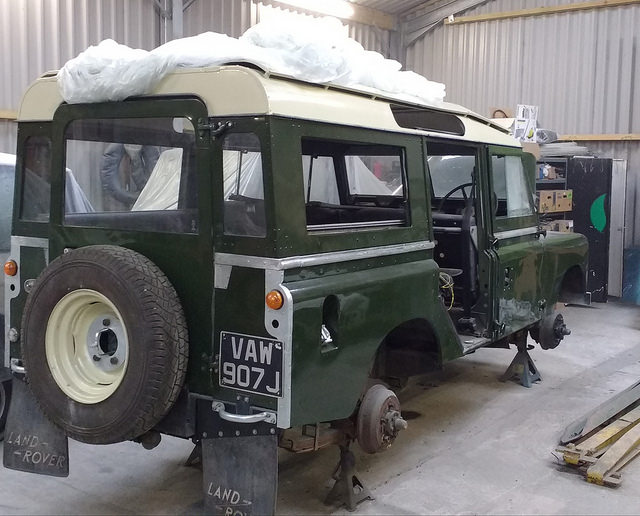
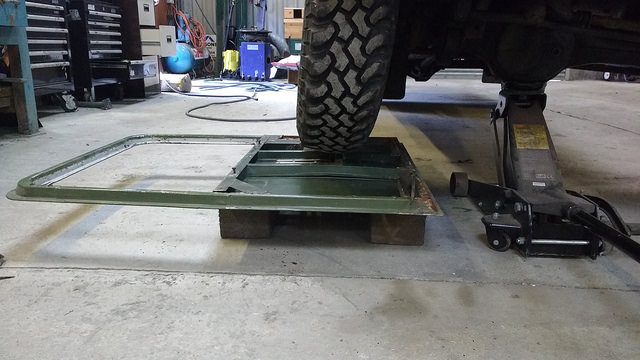
The rear door brings an additional consideration – there’s a spare wheel hanging off it.
Either no-one told the designer these doors needed to support the weight of a spare wheel, or he just wasn’t very good. Result is, rear doors with a spare wheel mount have a nasty habit of bending. This one wasn’t *too* bad, I didn’t actually notice until I started stripping it for repair.
If only there was something really heavy to bend it back with. Oh, wait…
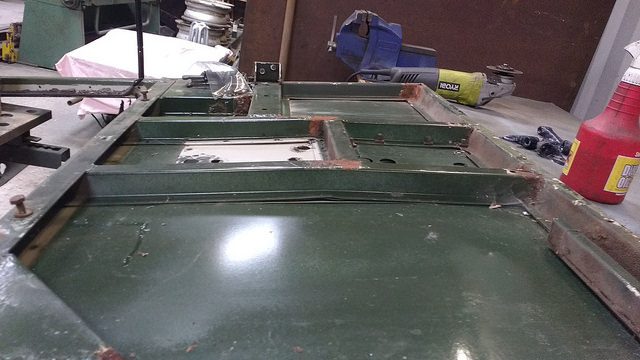
Corrosion wise, the bottom rail was crust central.
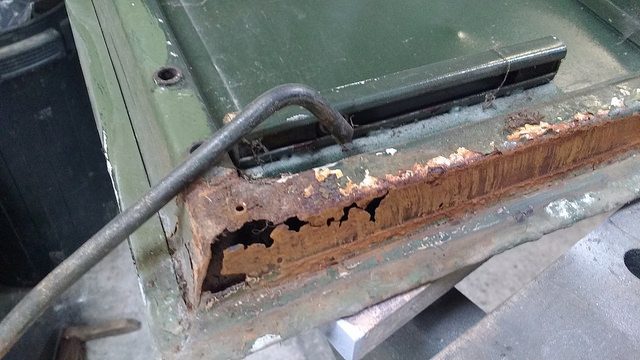
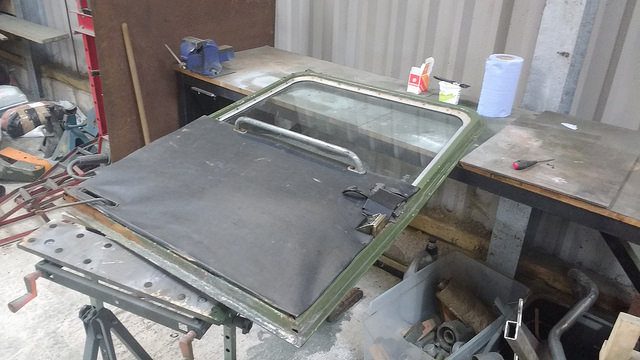
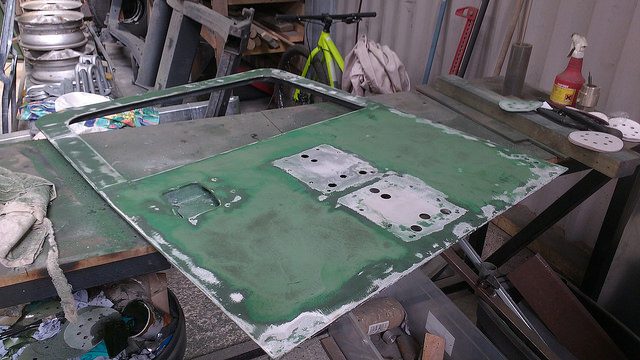
The aluminium door skin was removed in the usual fashion: heat and a big screwdriver!
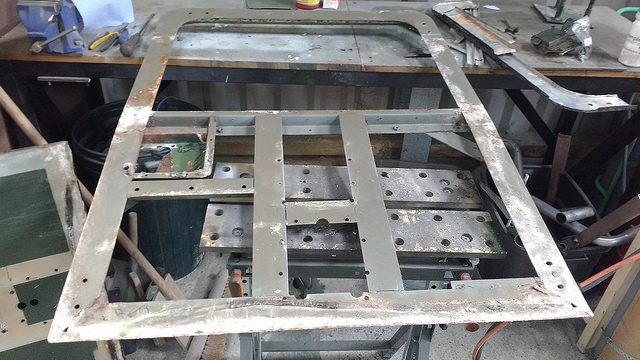
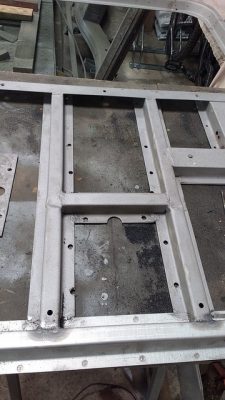
With the skin off, I could get a better look at the state of the frame. It was actually pretty good, other than the bottom rail.
Judging by the shape of the folded section, I’m guessing it’s not the original door. The original frames had a recess on the flat part of the frame that the door skin sits on, like on the second row doors:

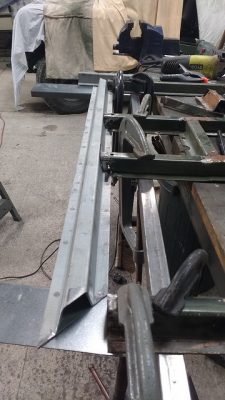
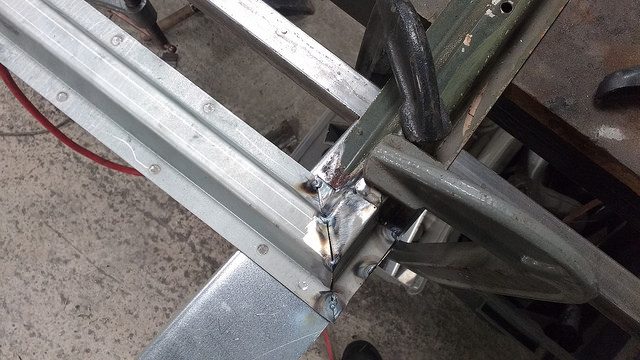
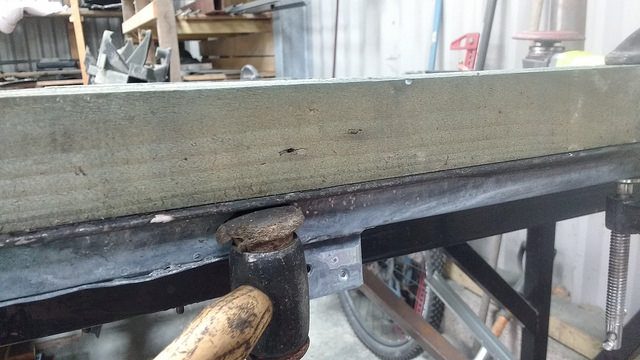
With a bit of box section clamped to the four uprights to keep them in place, the bottom rail got the chop.
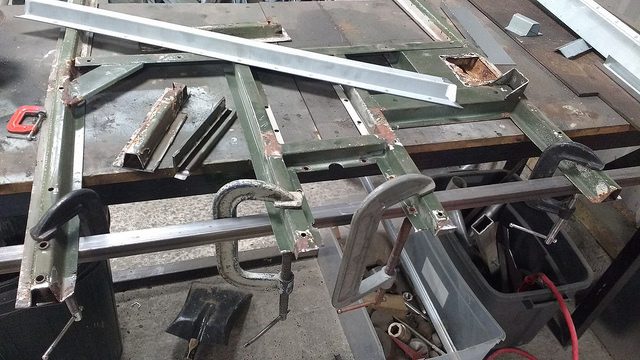
The bottom rail and the very bottom of the outermost uprights were then replaced with the same YRM pre-formed section that was used to do the second row doors.

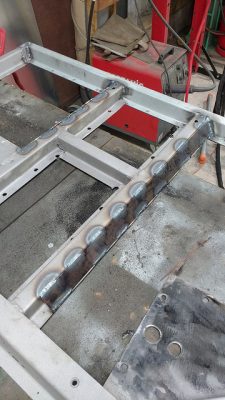
If the door was refitted as it was, the weight of the spare wheel would only bend the two central uprights again.
After blasting off the paint, some additional sheet was welded to the vertical sections for reinforcement.
Once that was sorted it went on the pile of bits for galvanising…
…and then it was back from the galvanisers and on for a test fit. Nice.
Pimpin’ though that look is, it might be a bit draughty (or draughtier). Best put the skin back on.
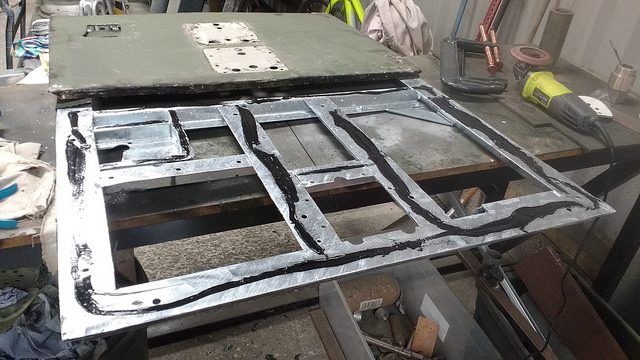
The galvanised surfaces that would be painted got a splash of mordant solution, then the skin was refitted. Seam sealer was used to isolate the skin from the frame, and the edges of the skin were folded back over with a soft faced mallet.
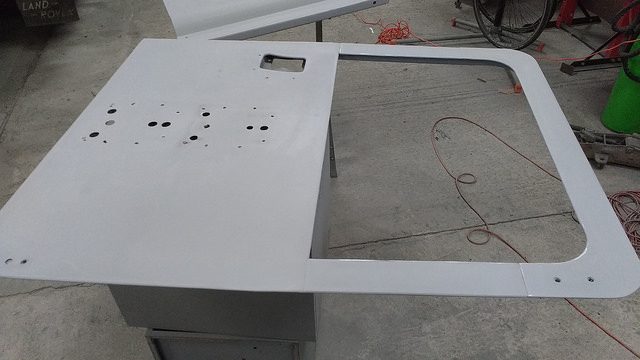
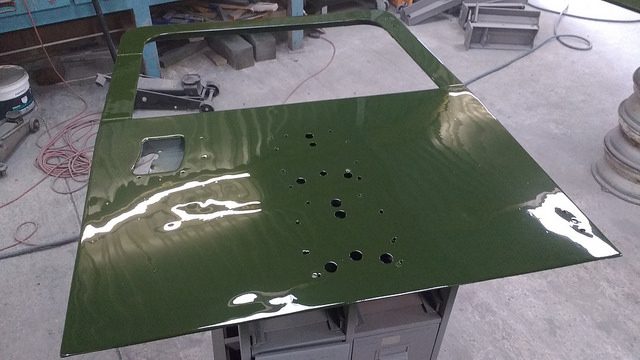
With that done, it was on with respraying. Like all the other panels, the paint was in poor condition so getting a good smooth base was a time consuming process. Many iterations of sanding and priming were required before a colour coat could be applied.
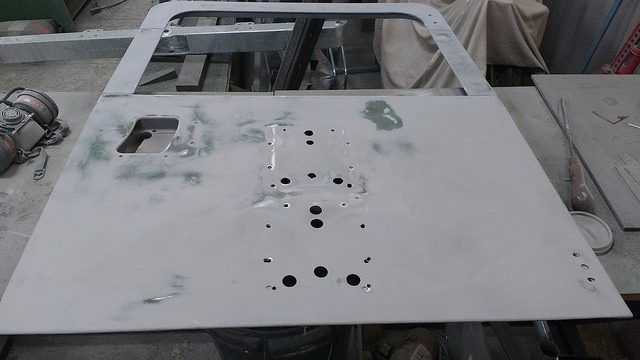
I was using the usual stuff, cellulose base paints and low-end Devilbiss gun (FLG-5). I’m by no means an expert sprayer, so redoing all the panels for this project has fairly moved my skills on. The strategy is to not even think about a colour coat until the primer coat can be sanded down without seeing any edges or previous sanding marks showing through. Even the tiniest of defects will show through once the glossy topcoat is on, meaning it has to be sanded back and redone.
I was chatting to my local paint supplier guy recently, and I reckon next time I’m doing a respray I’m going to try 2-pack paint. From what he said it should involve fewer coats than I seem to be needing with cellulose paint. That’s for another day though…
Another issue I’ve been having is with dust/seeds/beasties blowing about in the breeze and sticking to the paint. Grrr, I need to build a spraybooth…
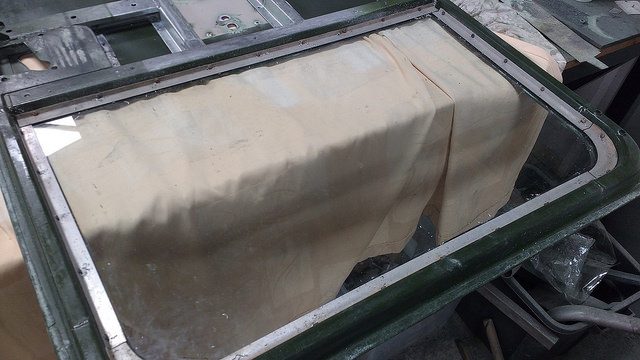
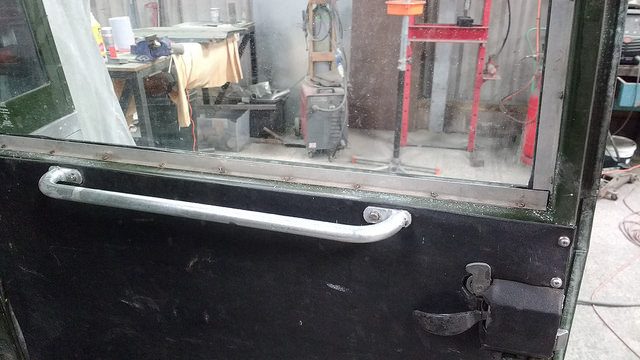
Respray done, the glass was refitted. It’s held in place by aluminium rails screwed to the frame and isolated with butyl strip (formerly dumdum, before it got banned).
Rehung with freshly blasted and painted hinges:
The hinges also got new bushes and pins while they were in bits.
Trim, latch, spare wheel hanger and blanking plate back in position.
I had the seal holdy-downy parts galvanised too, and fitted a new lower seal and load mat. The rubber mat material can be bought in bulk on eBay and trimmed to suit – it’s 3 mm thick ribbed stuff which looks similar to the original mats.
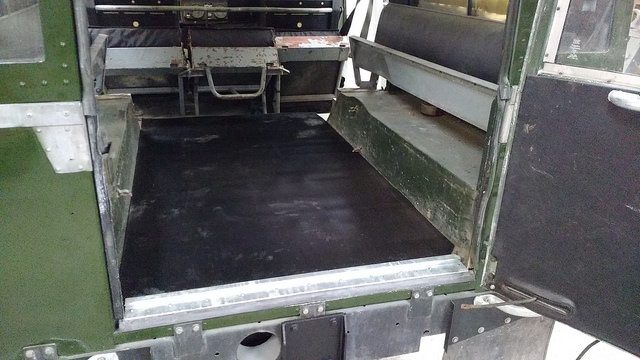
Looking good.
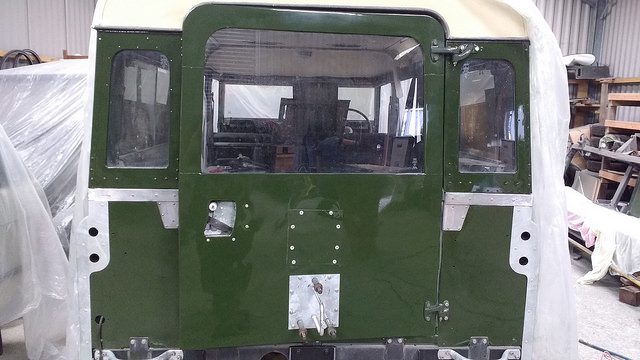
The wheel rims have been blasted and resprayed, so that’s the spare back on. I had the plate thing that holds the spare on galvanised, for optimum pimpage.

Note that the spare wheel mount is now at the bottom of the door. This is how it would have been originally, a previous owner must have moved it up at some point to give room for the towbar. The downside of that is that it makes getting at the door handle a pain, so I’ve mounted it low down per original spec. I no longer need to tow with this, so lack of access to the tow ball is no big deal.