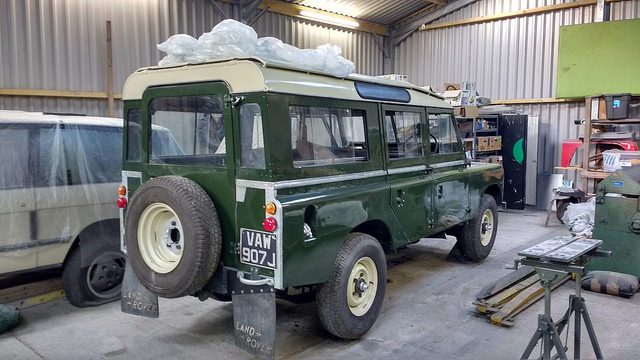
After spending many, many hours rebuilding the left hand second row door on the 109″ station wagon (see here), I had a few ideas for how to improve the process for the other door.
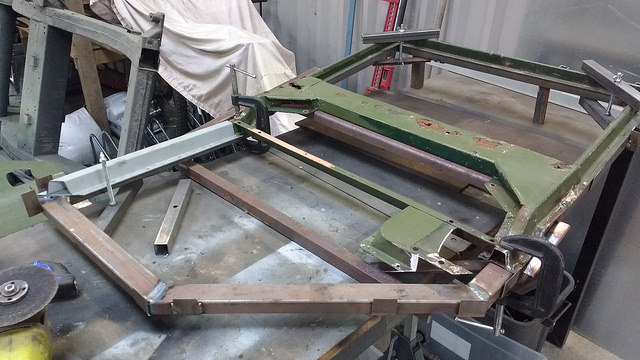
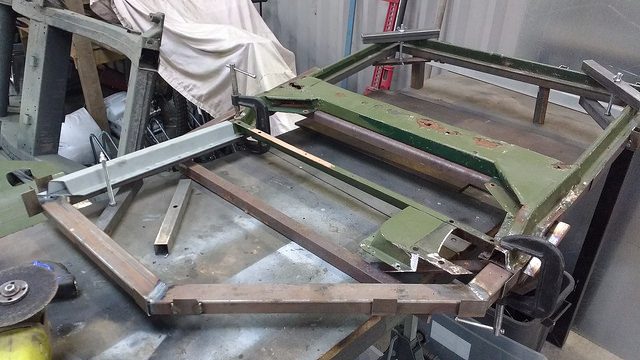
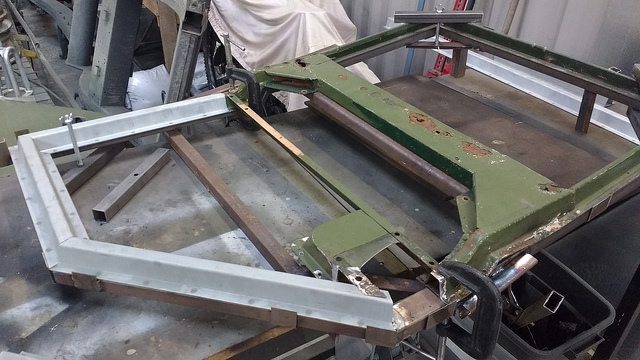
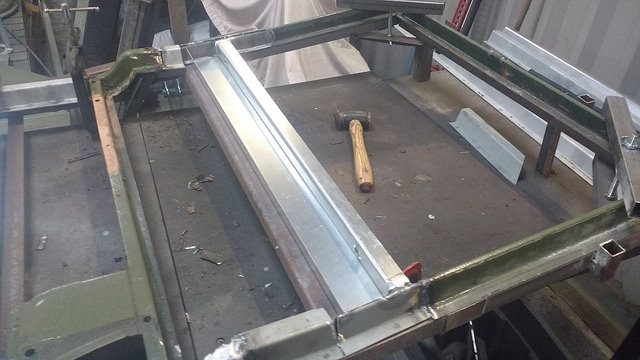
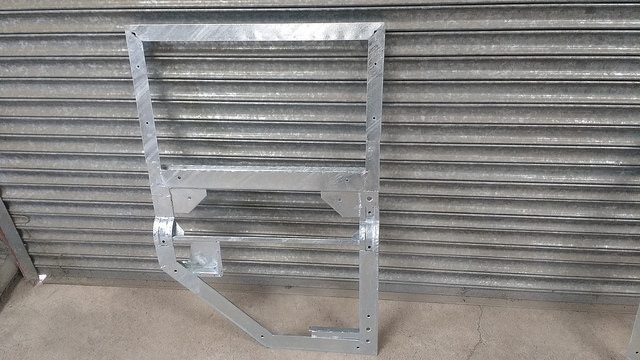
Firstly, taking all the measurements then building the frame back up ‘freehand’ was an enormous pain in the proverbial ass, and took ages. This time round, I made a jig to capture the shape of the door frame before hacking it up:
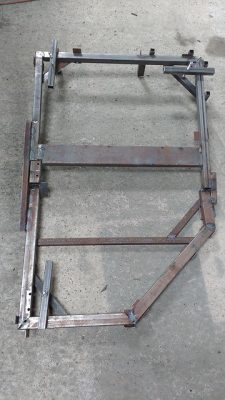
This took a fair bit of time in itself, but was worth it. It meant I knew where the frame rails went, as well as the hinge bolt holes.
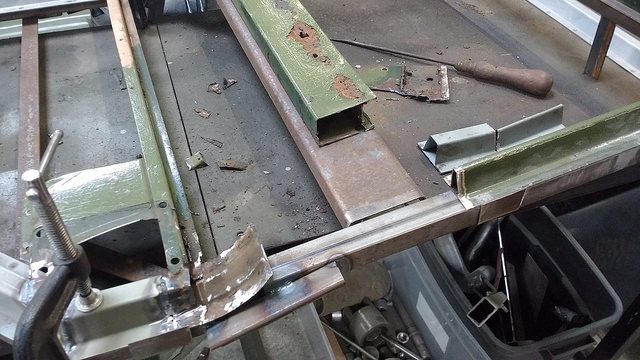
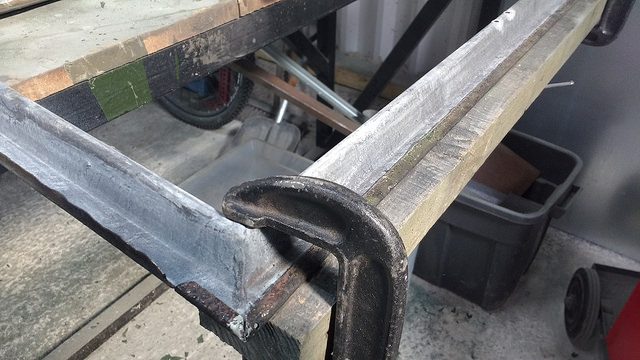
With the door clamped to the jig, I could cut out the rusty sections of frame without worrying about distortion as stress from the original welding was released.
Rust wise, this frame was marginally worse than the left hand one. The only original bits that could be saved were the top and sides of the window surround, the door lock/handle mount, and the narrow folded section that runs horizontally across the door from the lock/handle mount.
I did the window support/drain channel a bit differently this time. Last time round I used bent pieces of pipe to form the drains:
These filled with a solid lump of zinc when the door was galvanised – sorting that out wasn’t massively entertaining.
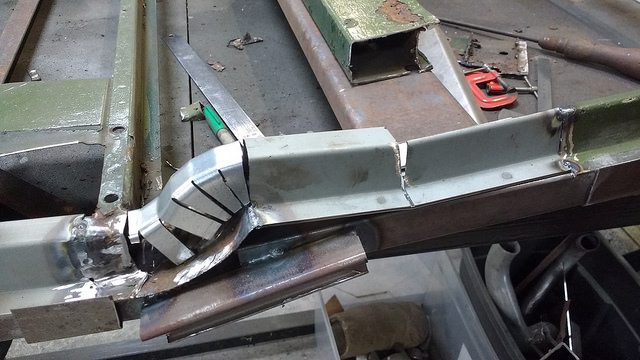
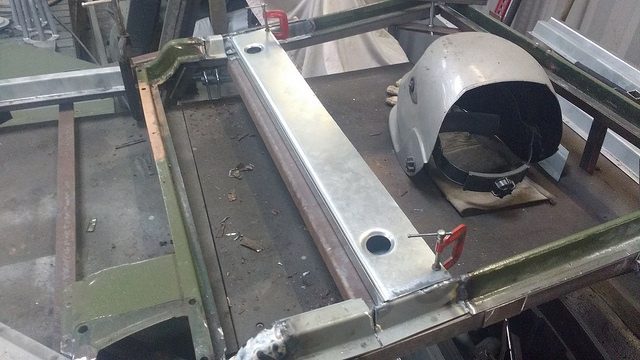
I used the same 3-piece construction for the rail itself this time, but I left the drain holes open and a larger diameter. I then bonded in PVC hose after galvanising to form the drains.
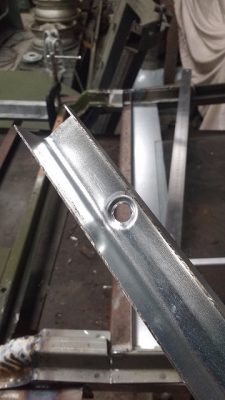
The inner section of the rail had large holes to give access for fitting the drains later.
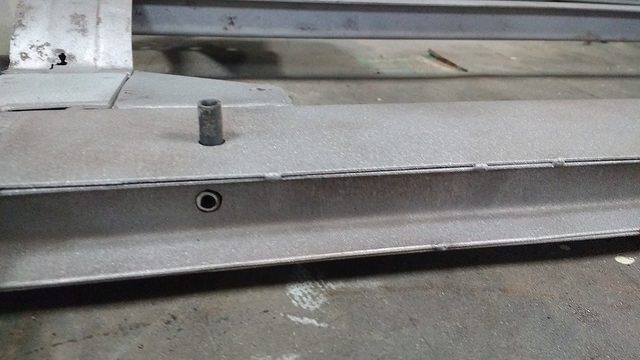
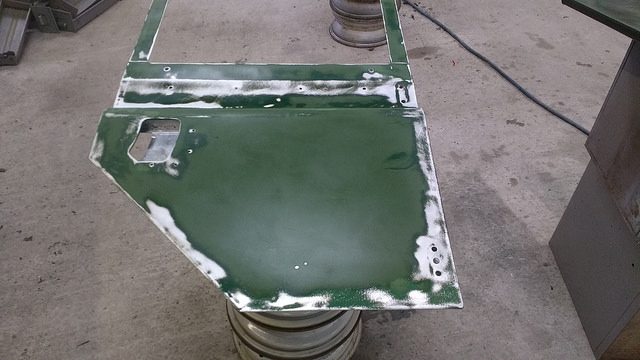
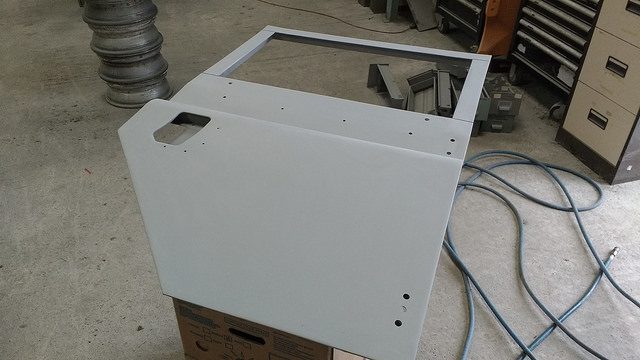
Ready for blasting:
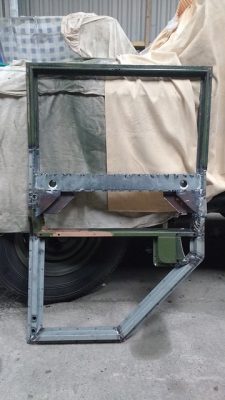
After blasting off the rest of the paint it went in the pile for galvanising. Shinyifying complete:
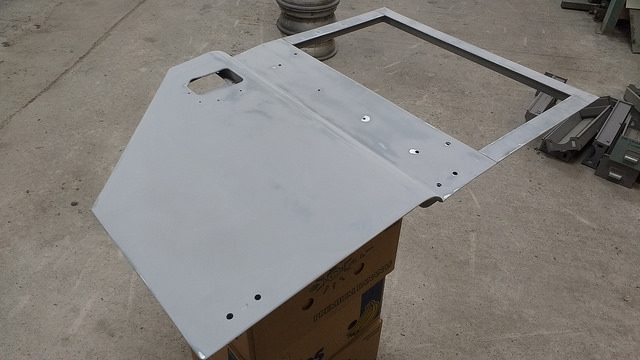
Surfaces to be painted were given a splash blast of mordant solution. The door skin was reattached in the usual fashion – seam sealer to isolate the skin and frame, skin edges folded back over the frame with a soft faced hammer.
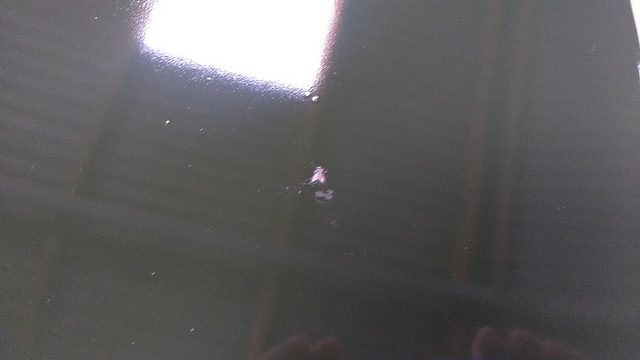
Then, the usual paint process – sanded and primed a couple of times, then topcoat.
Then sanded and topcoated again after a fly landed in the first coat. Rage!
I’d forgotten to rivet the skin back on around the lock/handle recess – I should have done this before the topcoat! The rivets needed to be touched up by hand later.
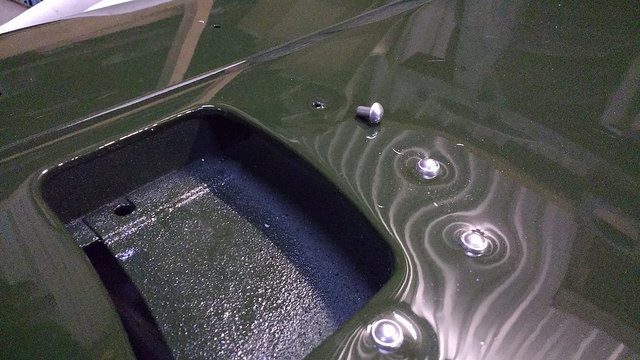
The drain hoses were then bonded in place with Tigerseal.
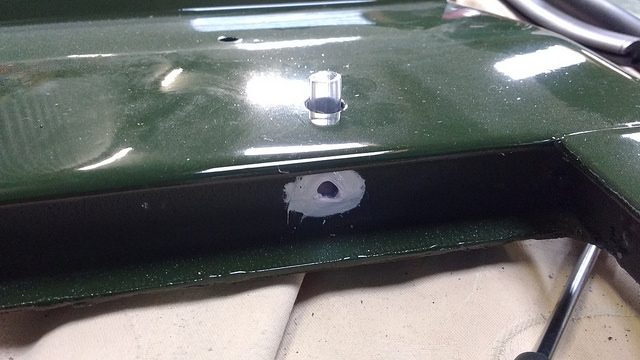
This seems a better solution than the steel tubes in the other door which had clogged up with zinc. I’d use this method again.
The glass was then refitted, new runners were screwed in place, and the window catch riveted back on. The door could then be rehung and the latch and trim reattached (sans door handle for now, as I seem to have misplaced it. Rats.)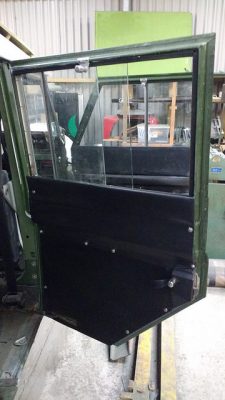
New stainless number 10 screws and cup washers were used for the trim – the originals were a bit corroded and didn’t go so well with the swanky new paintjob.