The crustfest continues.
Today, it’s the turn of the seatbox. Well, I say today, this took pretty much an entire weekend.
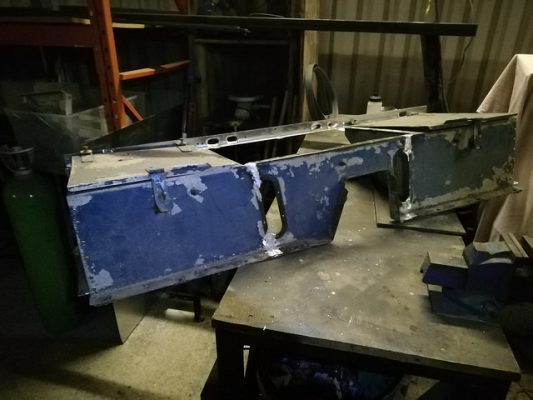
At a glance, it didn’t look too bad when I took it off. A bit saggy maybe but hey, it’s over 60 years old. If I’d had someone sitting on me on and off for 60 years I’d be looking a bit saggy too.

On closer inspection, chucking the seatbox back on and using it as-is wasn’t a viable option.
The angled section along the rear was bent and split:

There were also some suspicious screwed-on patches on the front panel:

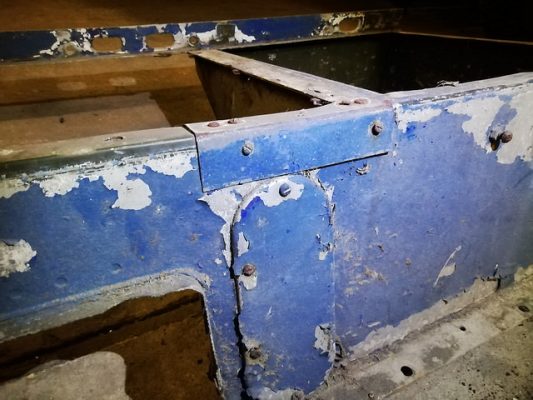
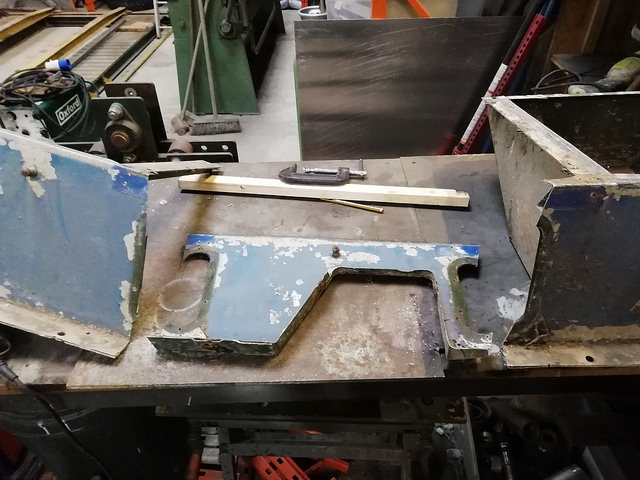
Once those were removed, it transpired that the front panel had completely failed through the handbrake holes on both sides.

Oh dear. That’s… that’s not supposed to be in three bits.

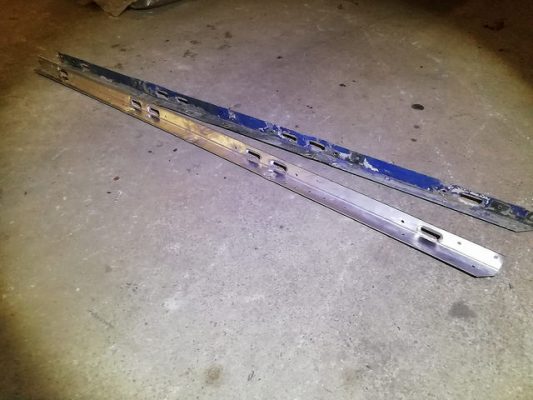
To top it off, the end panels were corroded away at the mounting flanges:
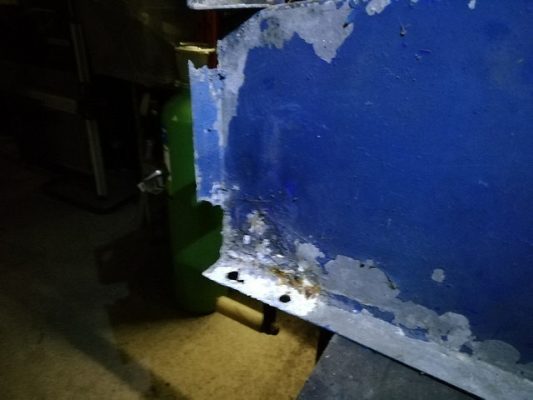
So that’s the rear panel, front panel, and end panels – all toast. That doesn’t leave very much, really.
At this point it would be sensible to throw it away and find a better one, however there are two problems there:
- It’s a series 1, bits are rare and expensive
- This build is all about keeping the patina and the history intact. Getting a new/replacement seatbox would be cool for a shiny resto, but shiny resto this is not.
Repair it is.
The seatbox is riveted and spot welded together, so the panels can be separated with a drill.
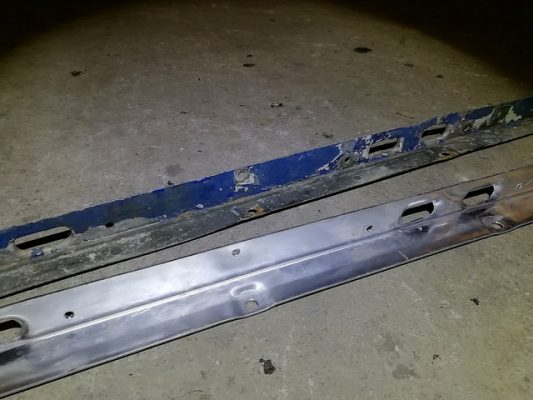
First up is the rear panel. The original was beyond sensible repair, so I opted to make a new one. It’s essentially a bit of folded aluminium sheet, but with a few pressings and holes in it.
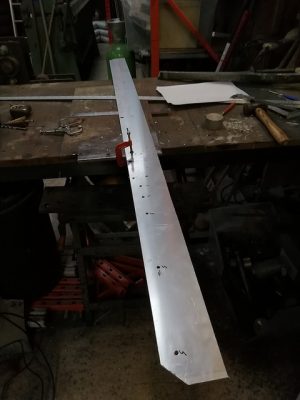
There are three recesses in the horizontal area of the part to suit captive nuts, and some funky pressed holes on the vertical area. From the parts book, I think the pressed holes are for the seat bases – the original seats are missing so I’m not 100% sure.

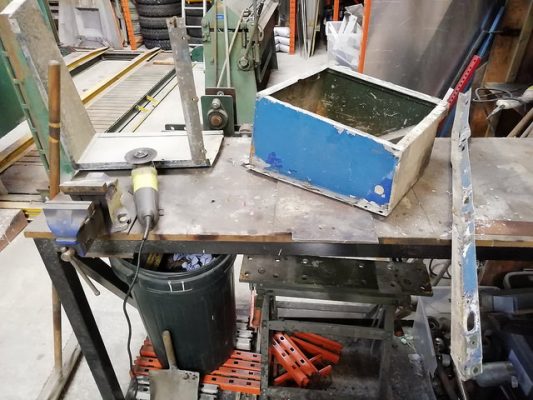
I made some simple tools to use in the press to form these features.
Once the angle was folded, I pressed those features in and that part was good to go.
The end panels were next.

The two long edges were folded in the box folder. As these two folds are in opposite directions, the part then didn’t fit back in the folder to complete the folds for the two short edges.

The short edges were folded manually with a vice, some angle iron, and a rawhide hammer.

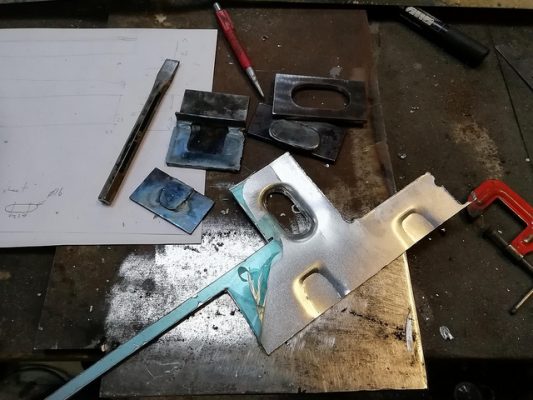
I intend to use series 2a style seatbelt mounts, which need a recess on the end of the seatbox to give room for the bolt:

More press tools required! I already had a hole swager of the right size, so just needed to make a suitable spigotless die to press the recess without punching a hole though.

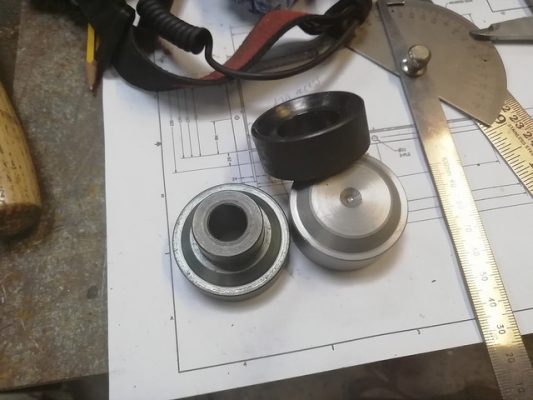
Job’s a good ‘un:
Seatbox ends done, that just left the front panel.

This part was salvageable, it just needed to be welded back up where it had broken.

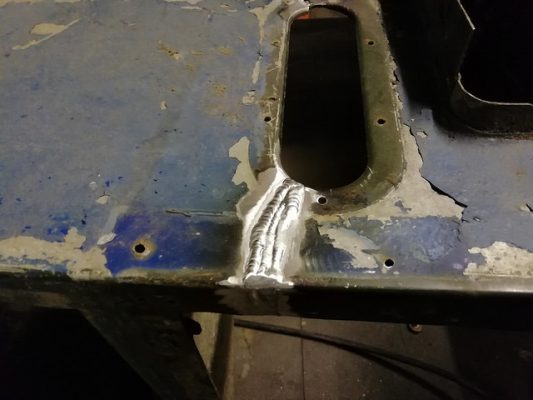
A couple of gussets were added on the rear to help stop it failing again in the same places.

With that sorted, it was reassembled. Pop rivets replaced the spot welds.
The welds were flapped back where necessary to allow mating parts to fit, but were mostly left proud. They could be buffed out flat for a nice finish, but that’s not how I’m rolling with this build. Pretty it isn’t, but I think a couple of visible welds on the seatbox are in keeping with the ‘lived in/distressed’ look that I want to retain.

While there are a fair few shiny new panels now, once it’s had some paint strategically applied and a couple of years use, it should blend in ok.