
One of these days I’ll write about something that isn’t rust-related.
Today is not that day.
The subject of todays rust-busting is the 109’s under seat battery box. On earlier models these were tool trays, and were aluminium (the battery was mounted in the engine bay). On later models, the batteries moved to under the passenger seat. The under seat battery trays were made out of folded sheet steel which, as most of my posts on here will confirm, means eventually some fool will be left with a crusty mess of iron oxide to replace.
That fool is currently me.
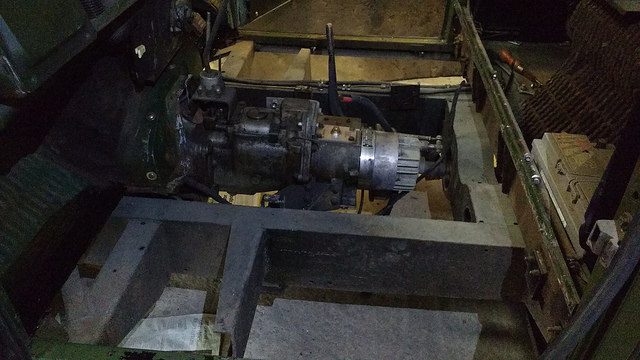
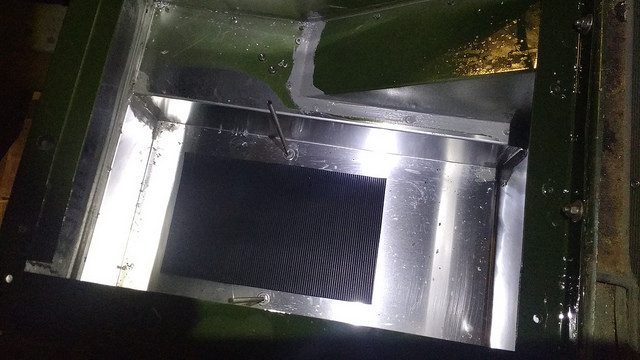
Looks not too bad from here:
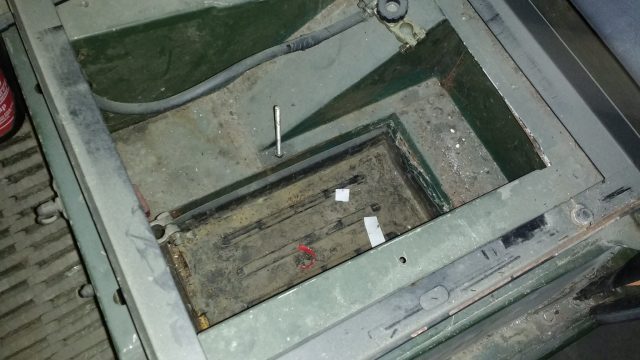
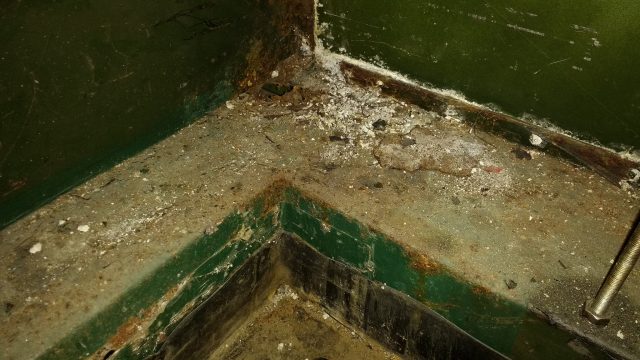
…but it’s a bit crusty in the back corner.
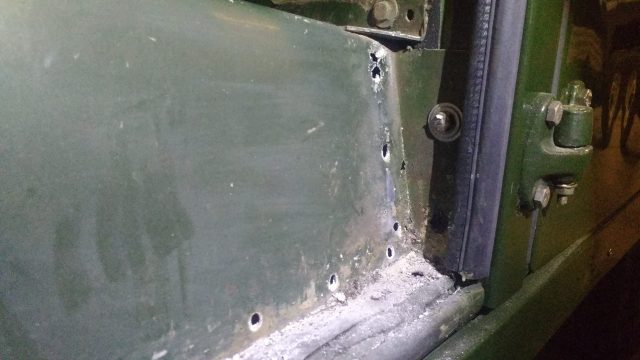
The battery box is held in by a load of rivets. These were flatted down with a flap disc then drilled out. To get access to them all, the seat belt brackets and seat frame needed to be removed.
Removal of the seatbelt brackets uncovered some nasty corrosion of the seat box ends.
I had hoped to do an in-situ replacement of the battery box, but with the seat box ends needing replaced too it was better to remove the seat box – it would need to be resprayed. The job was reaching that familiar ‘snowball moment’, where a quick afternoon job turns into a multi-day effort.
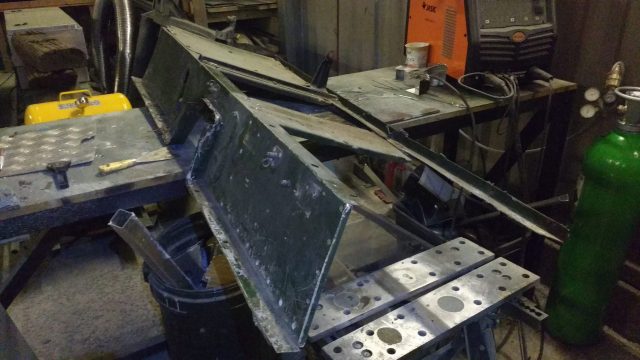
To get the seatbox out, the floor panels, transmission tunnel, handbrake lever, overdrive lever, and seats were first removed. They all came out easily enough as it’s not been *that* long since they were all off for the chassis swap.
With the seat box on the bench, the battery box and passenger seat box end were removed. The seat box ends are spot welded on; these were drilled out to allow removal.
I took a shortcut and ordered some ready-made seat box ends and a battery box from YRM. I had fancied making them, but I didn’t want this job to drag on. I’ve kept the old parts so I can make up some new ones at my leisure.
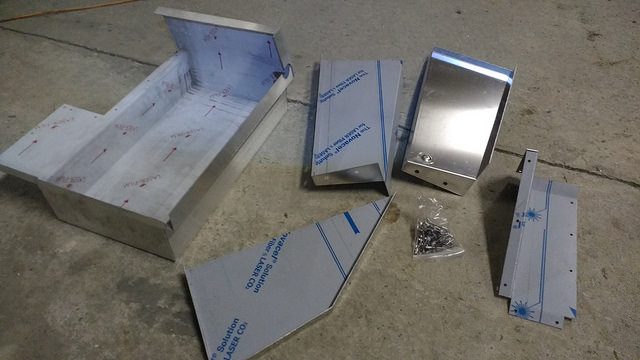
The battery box comes in three parts, pre-drilled to be riveted together. They needed a wee bit of trimming to fit, but they went together pretty well. I used some brushable seam sealer in the joints to keep the water out – with rivets alone it would leak like a sieve.
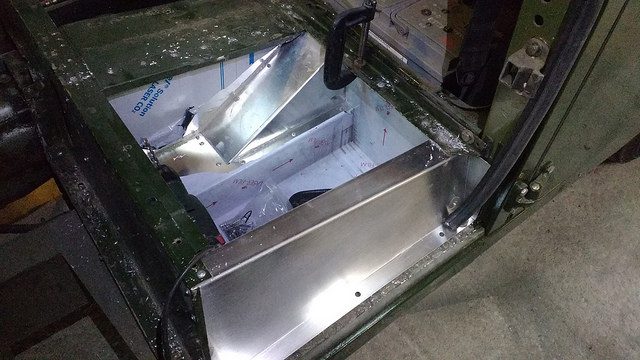
With the seat box end and battery box removed, the seat box has very little stiffness. To make sure it went back together in the correct shape, I loosely bolted it back into the vehicle and attached the new parts in-situ. The spot welds were replaced with pop rivets. Spot welding aluminium requires some fancy kit that I don’t have, plus you’d still have the holes left from drilling out the original spot welds.
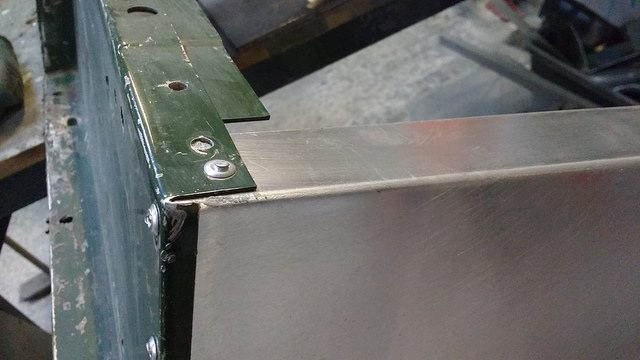
As is customary with replacement panels, I wasn’t entirely happy with the fit. One of the reasons I had bought these was that I knew that getting all the correct joggles on the edges if I made my own would take a lot of time. Turns out YRM didn’t bother with such details, so the fit between panels isn’t flush per the originals.
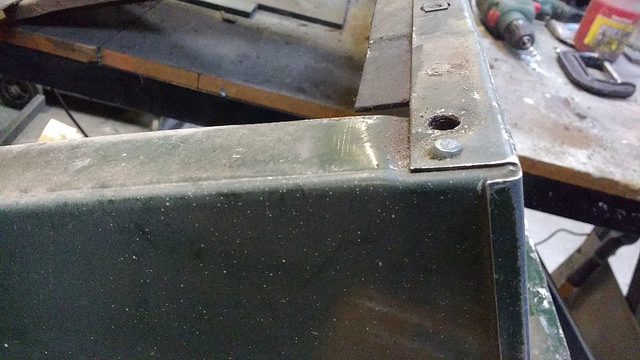
This is what the corner joints should like like – the seat box ends are joggled to get a flush fit along the top of the seat box:
This is what the replacements look like, with a plain fold along the top edge:
Humph. Oh well, I’ll know for next time.
The seat box was then removed again and the drivers side end replaced in the same way.

I couldn’t really leave the ends bare, and a partial respray would look a bit pants, so I had to respray the whole seat box.
It was hovering around freezing all day – ’tisn’t the season to be spraying. I had to have an electric heater trained on the panels to preheat them. After spraying I took it into the house to cure it in front of the stove – it wouldn’t cure properly in the shed at this time of year.
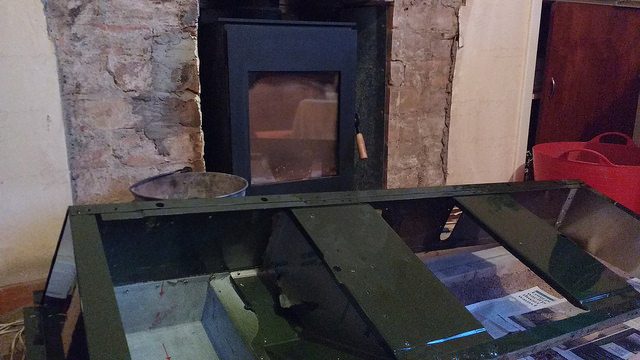
If the fireplace looks a touch unfinished, that’s because it is. House-based DIY is much less interesting than shed-based landy tinkering so I’m a bit behind on the former…
Paint duly cured, the seat box went back in. Prior to this I spent an unhappy couple of hours scraping all the old seam sealer off the mating surfaces. This was not a fun job.
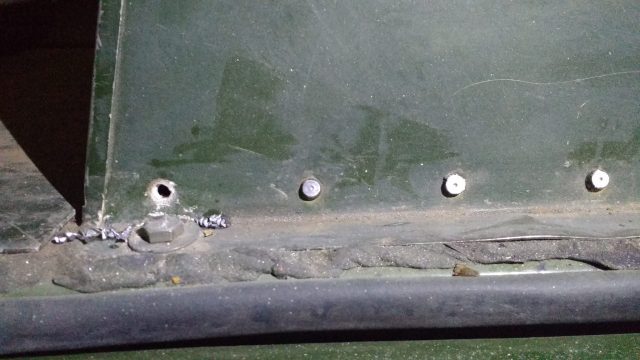
The box was then drilled for the battery leads…

…and stainless studs added for the battery holder-downer.
A few more rivets were required, I had only put enough rivets in to hold everything together prior to painting. Thereafter it was the classic ‘reverse of removal’ procedure.
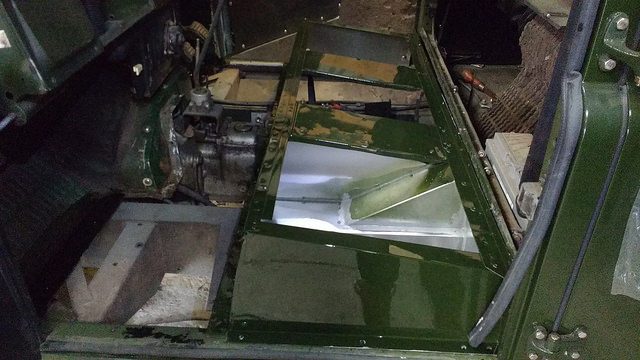
With everything back in place (except the passenger seat base, obviously), it looked something like this:
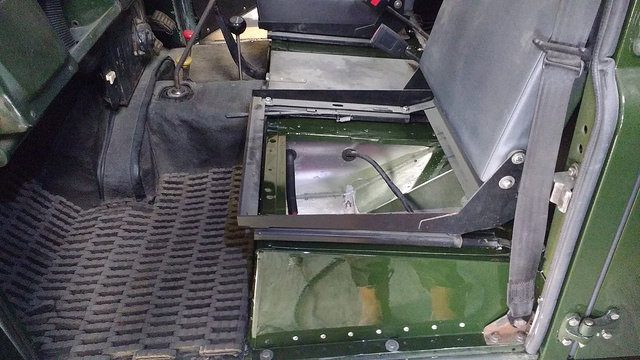
That’ll do nicely.
Where did the side panels come from? I am doing the very same task. Derrick
Hi Derrick, I think I bought them from YRM. They weren’t the best reproduction, but did the job ok.